Sorry for lack of updates - somehow the site link was removed from my bookmarks, with others, so completely forgot about having a thread!

I'll cut/paste all my updates from elsewhere now... Been busy!
Let the carnage begin;
After a brief moment of getting my chip on;
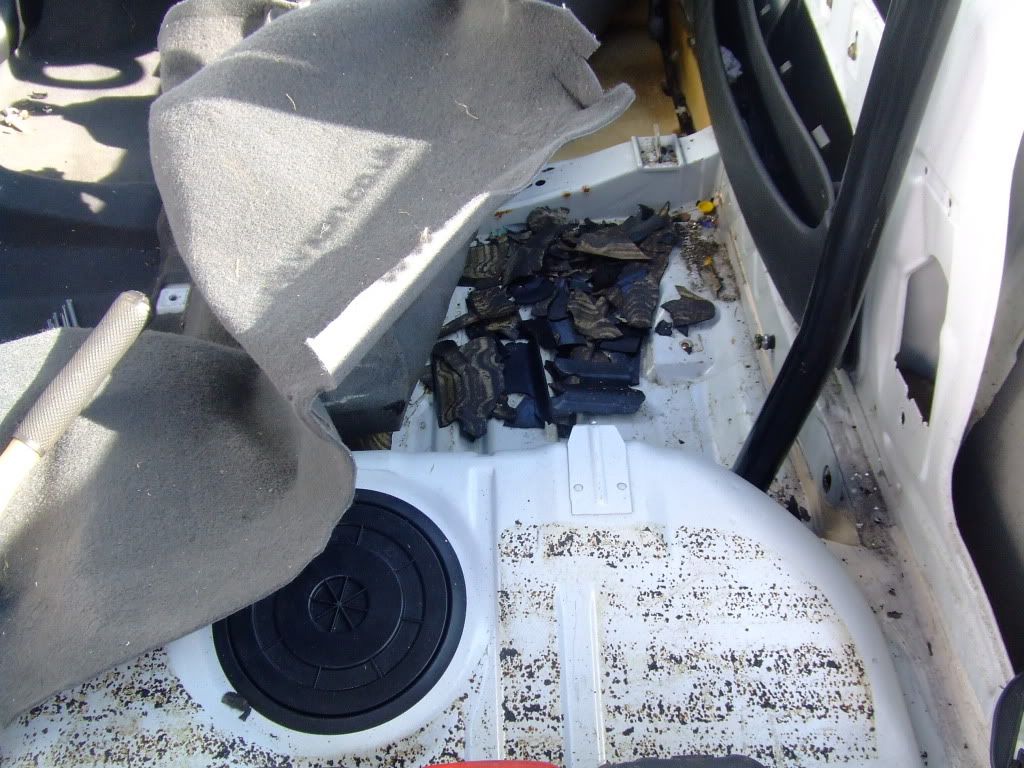
Then decided that access needed to be improved;
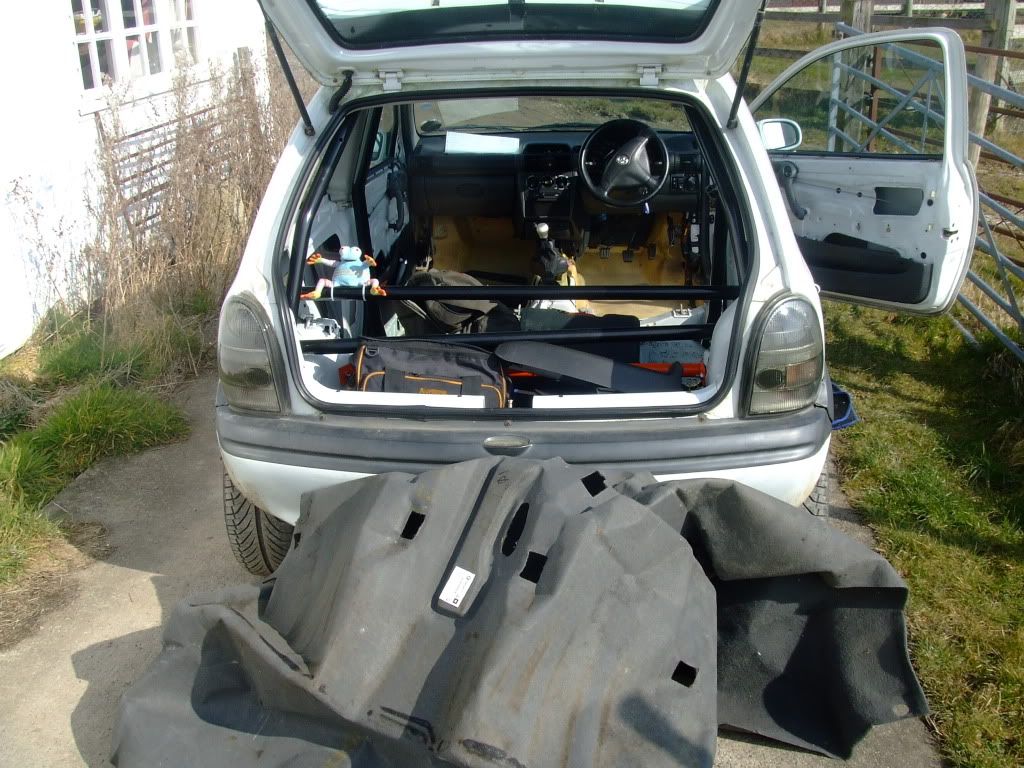
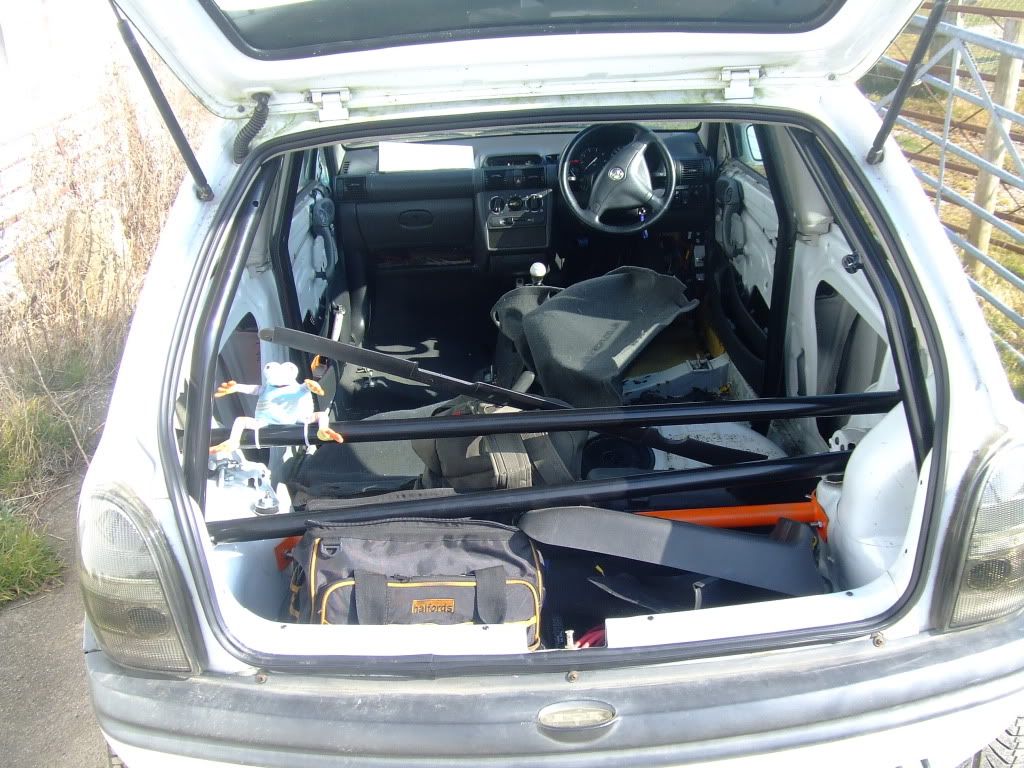
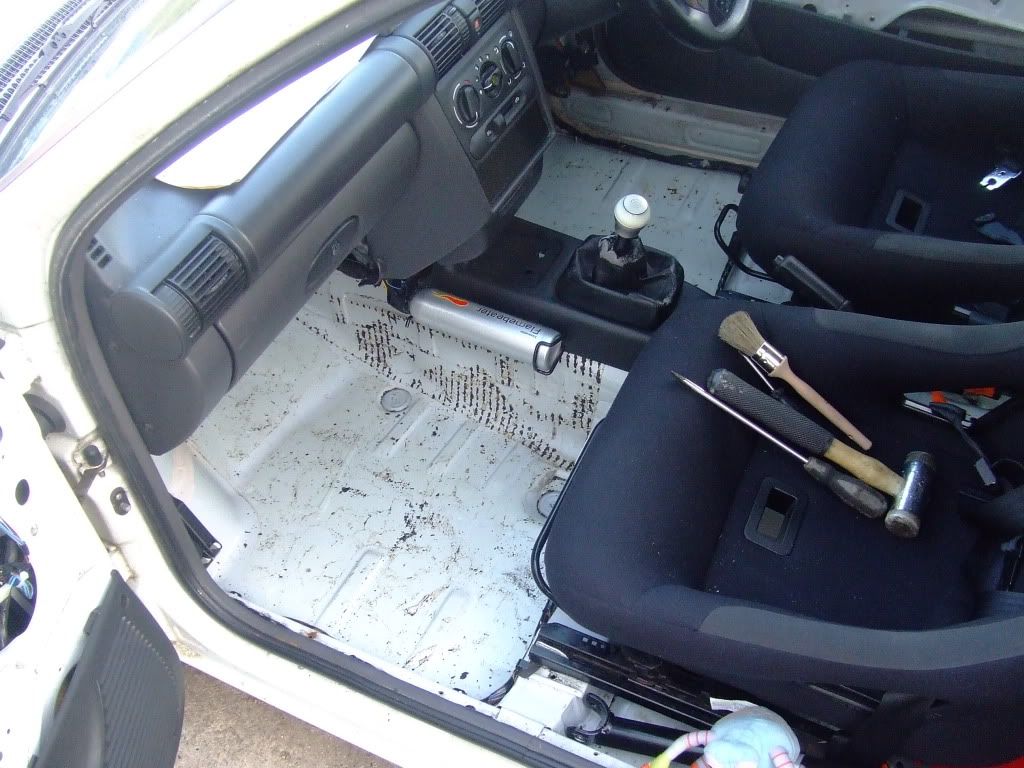
On with more chipping action - thats now 2 rear footwells and the exhaust tunnel stripped;
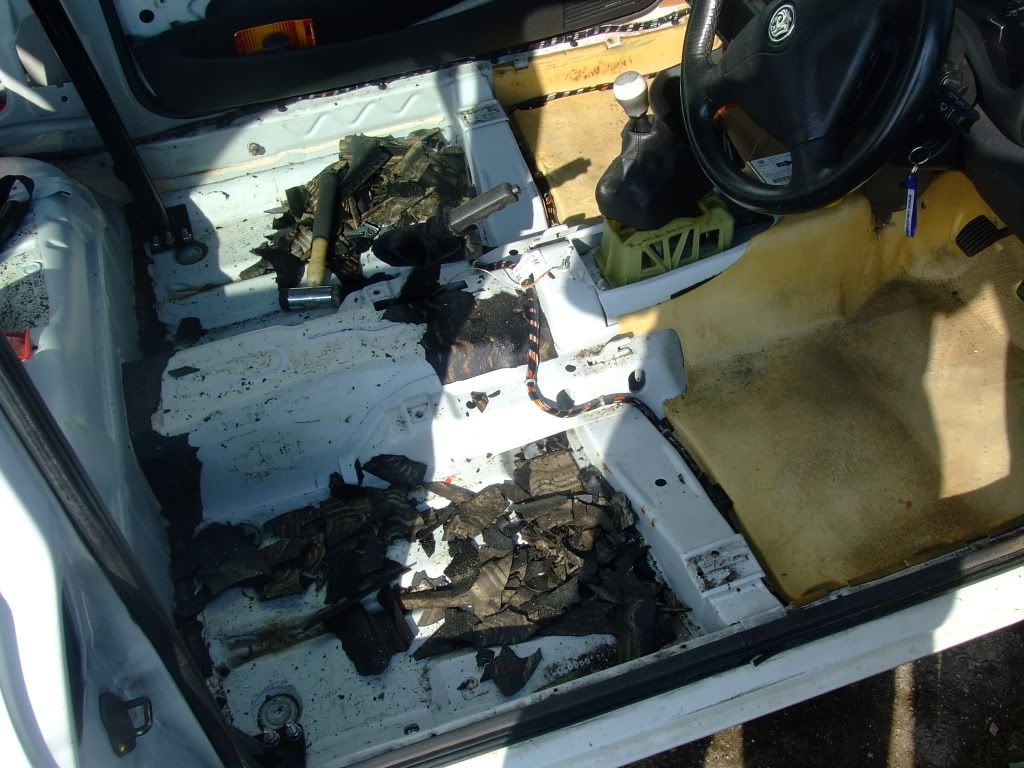
Up with the yellowy foam poo - weighs a fair bit - then an excuse for more Hammer and Screwdriver related fun;;
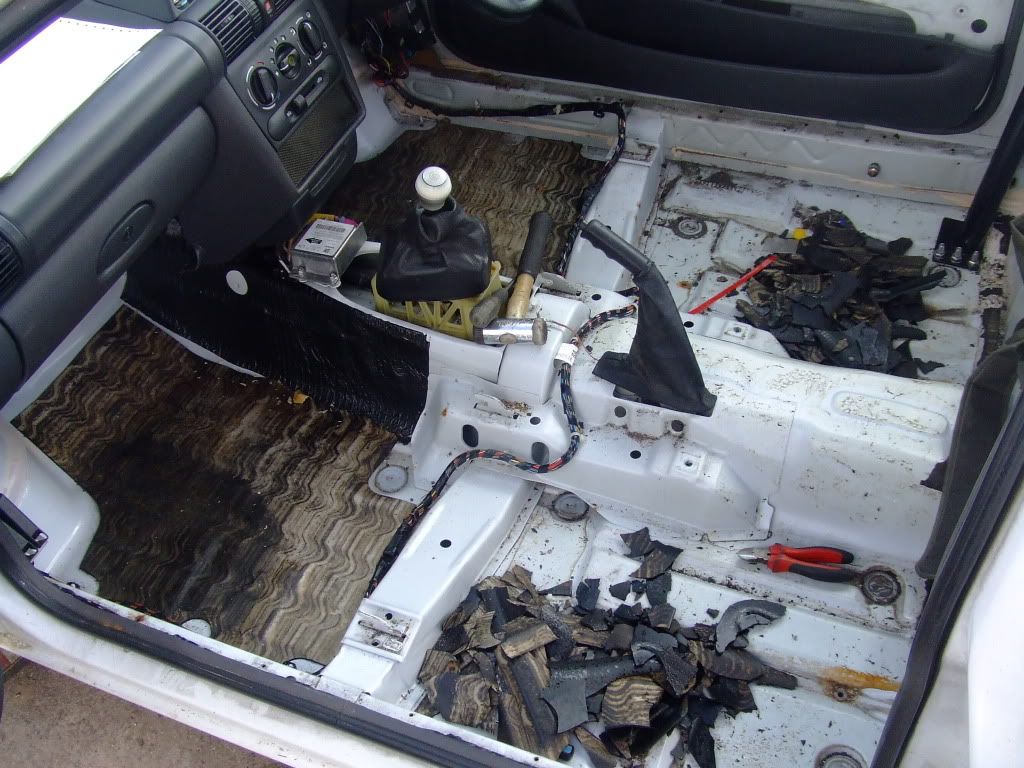
The end result - including the rear footwells, obviously;
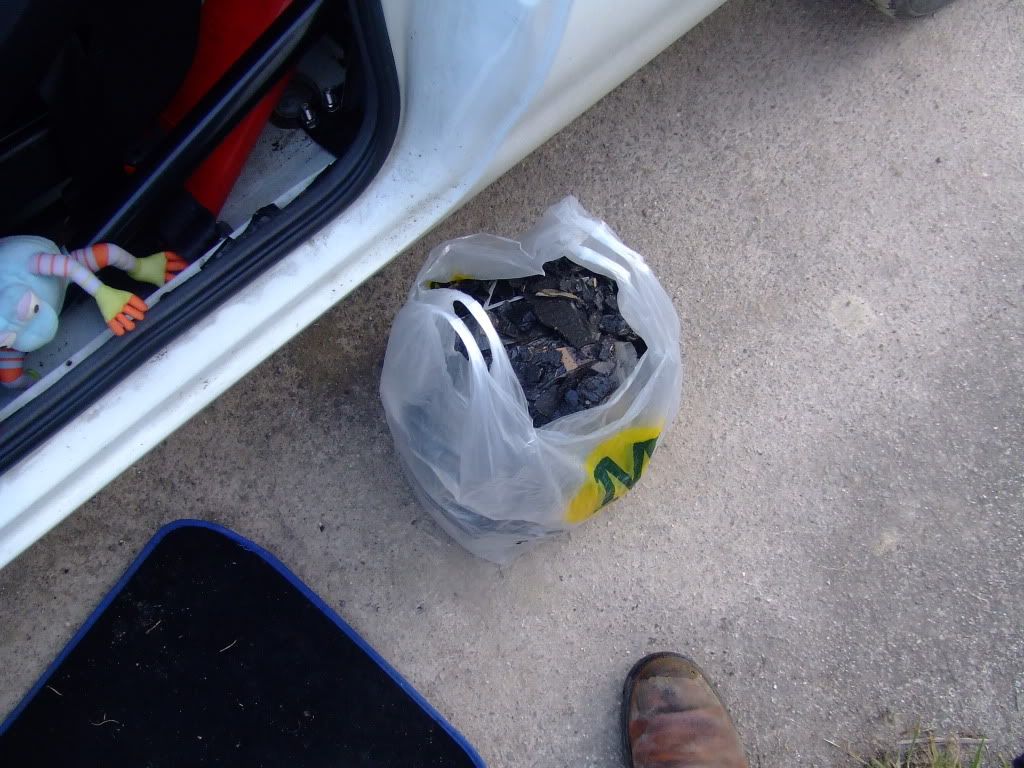
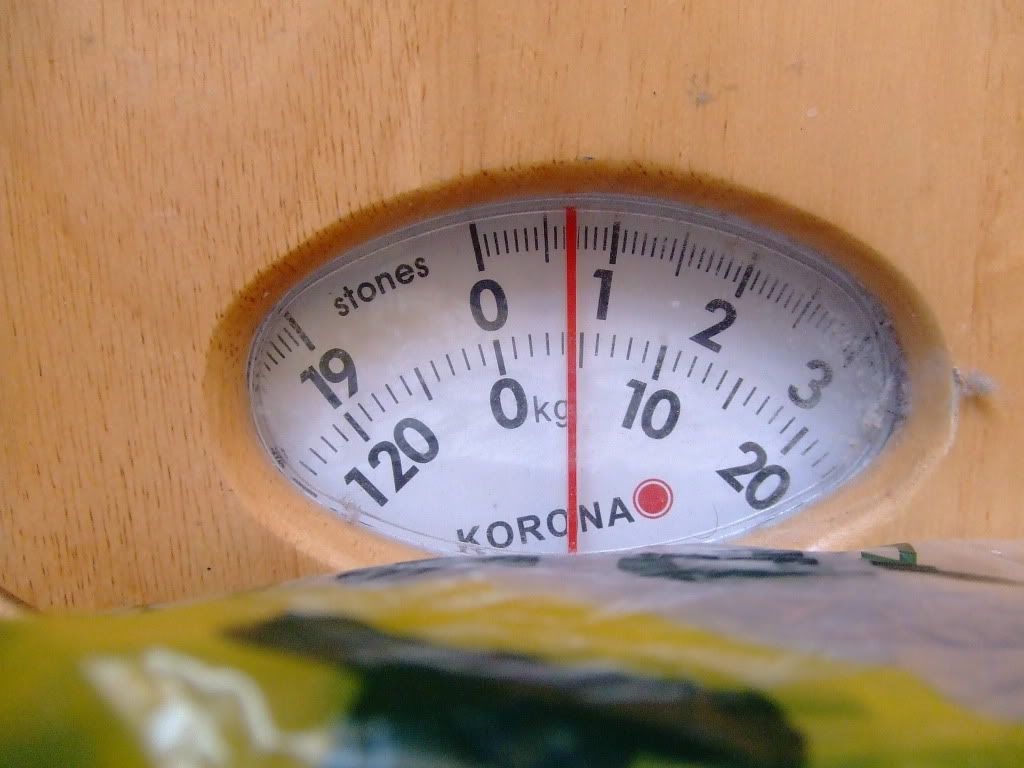
Quanity of bonded deadening removed today, a further 4.5Kg alone, not including more trim, the yellow foam and the carpet...;
Needs more tidying, and there is still a little remnant of the bonded stuff left under the central part of the dash, but i'll leave that for tomorrow.
Once it's all out and scraped/cleaned, i'll be looking to lay down some paint throughout the interior. Nice.
--------------------------------------------------------------
Finished work a bit earlier today, so instead of wasting the majority of the afternoon on my Xbox or Laptop, I went out and faffed with the car some more, seeing as I couldn't on Sunday in the end...
Chipped the remaining Bonded Deadening off of the exhaust/gear linkage tunnel, needs scraping now to finish fully;
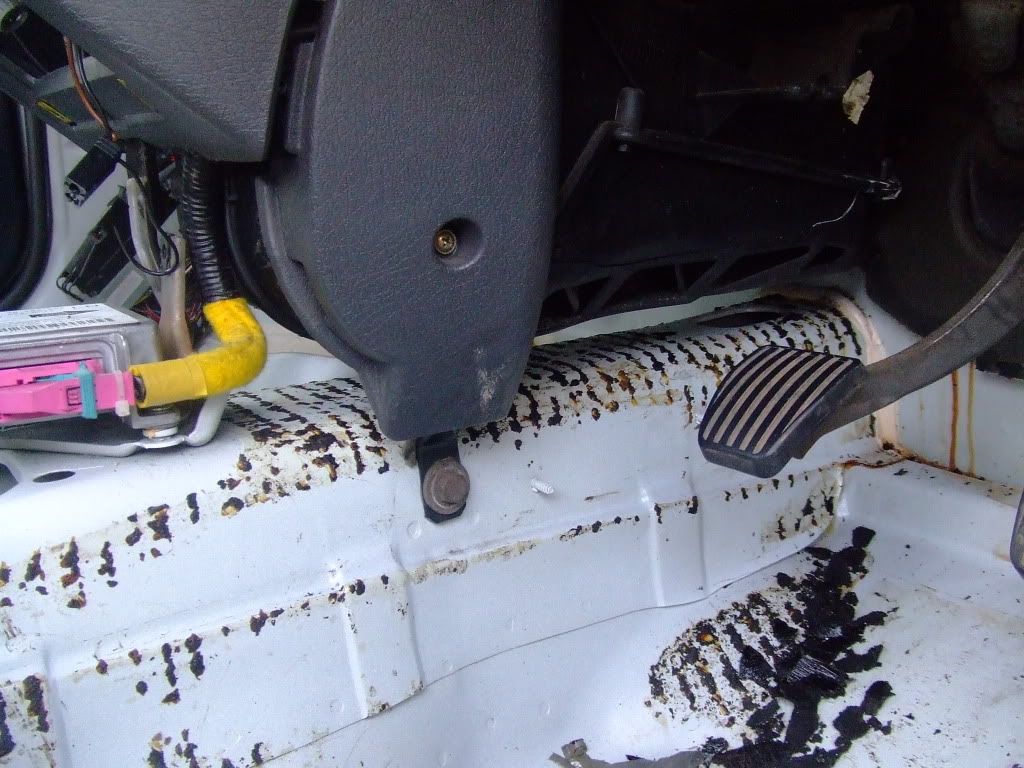
Then, took some of the Dash Apart after finding more Yellow Foam poo behind it, in an effort to remove as much as I could without taking the Dash out;
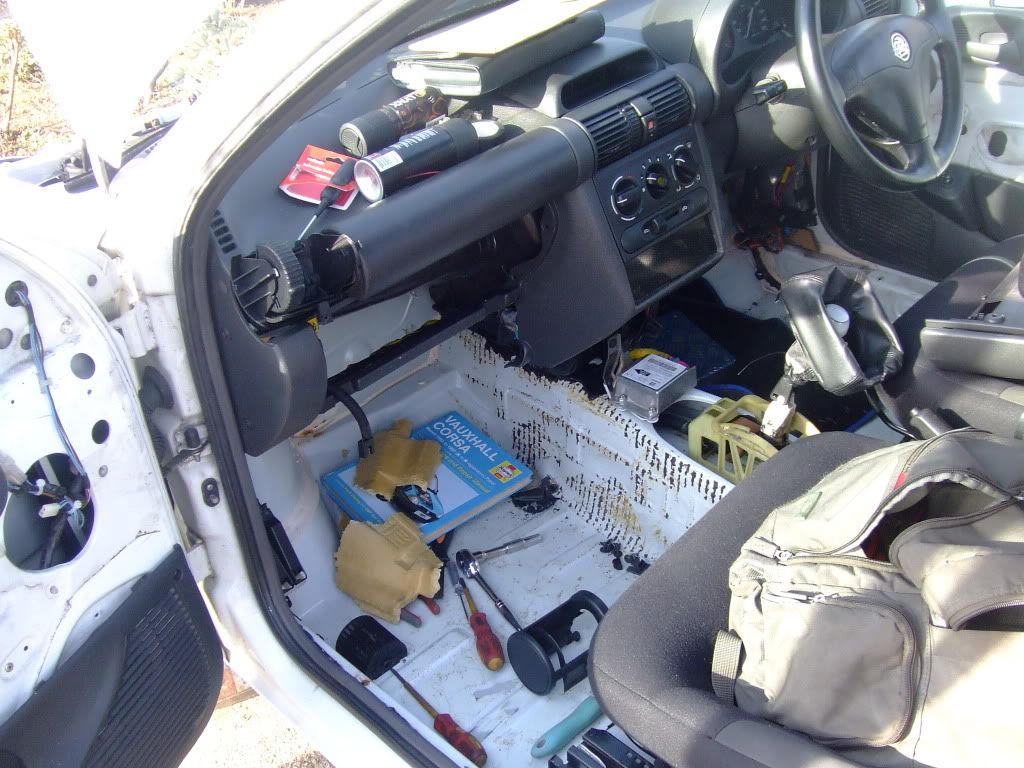
Got a fair bit out (not pictured) but there is still some at the very top to come out, so I'll have to remove the Dash anyway to do that;
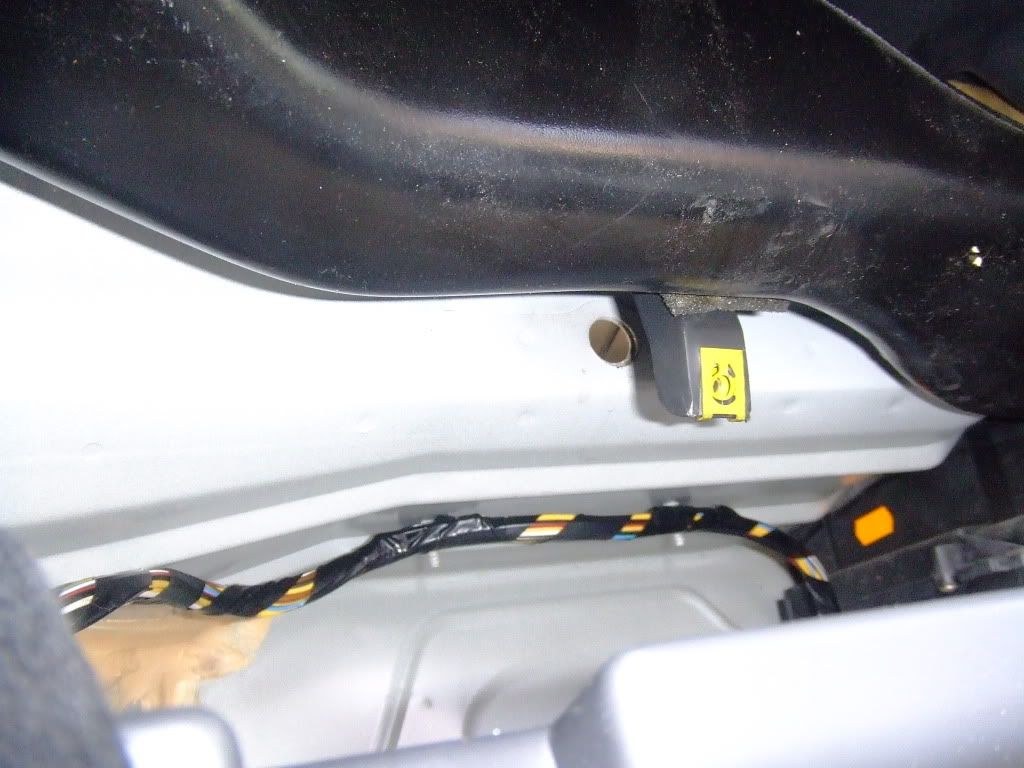
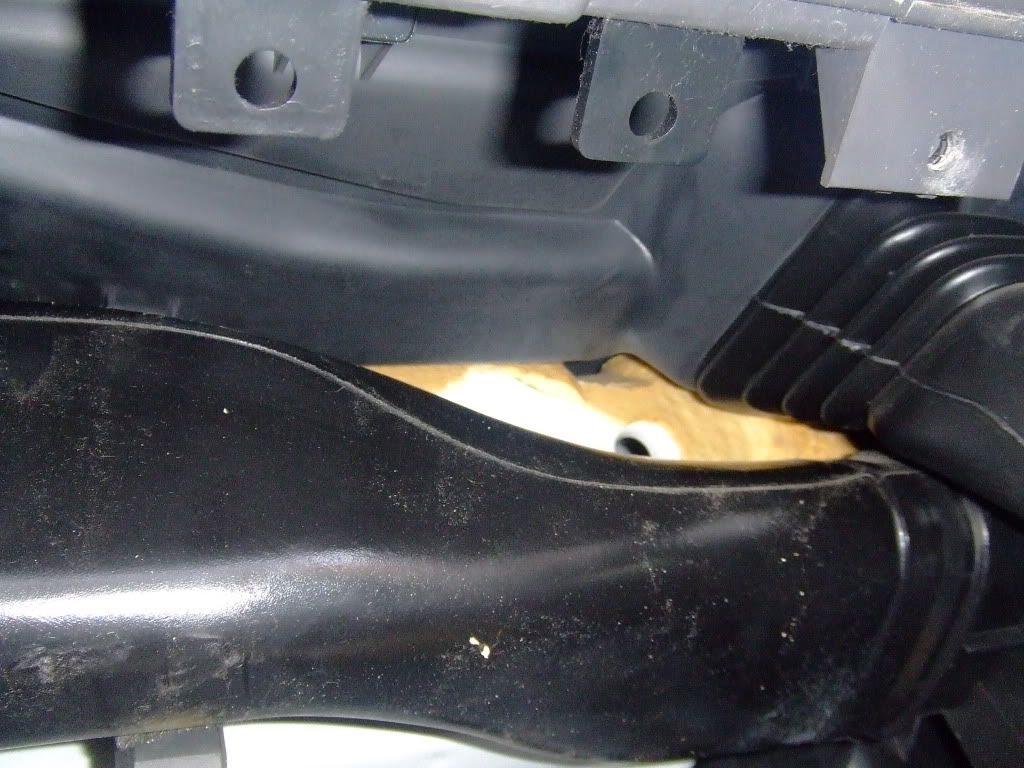
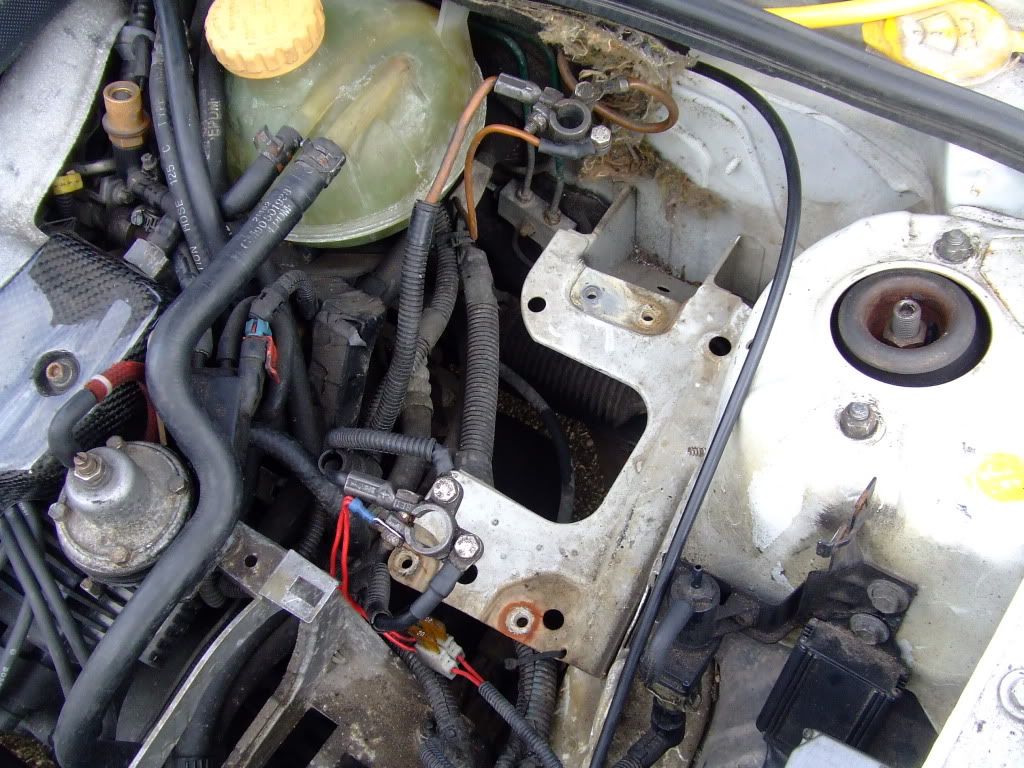
Then, while the dash was apart, I found a conveniently located Hole near the washer bottle, through the Firewall, to run a Power Cable, which will be used to relocate the Battery to the Boot soon;
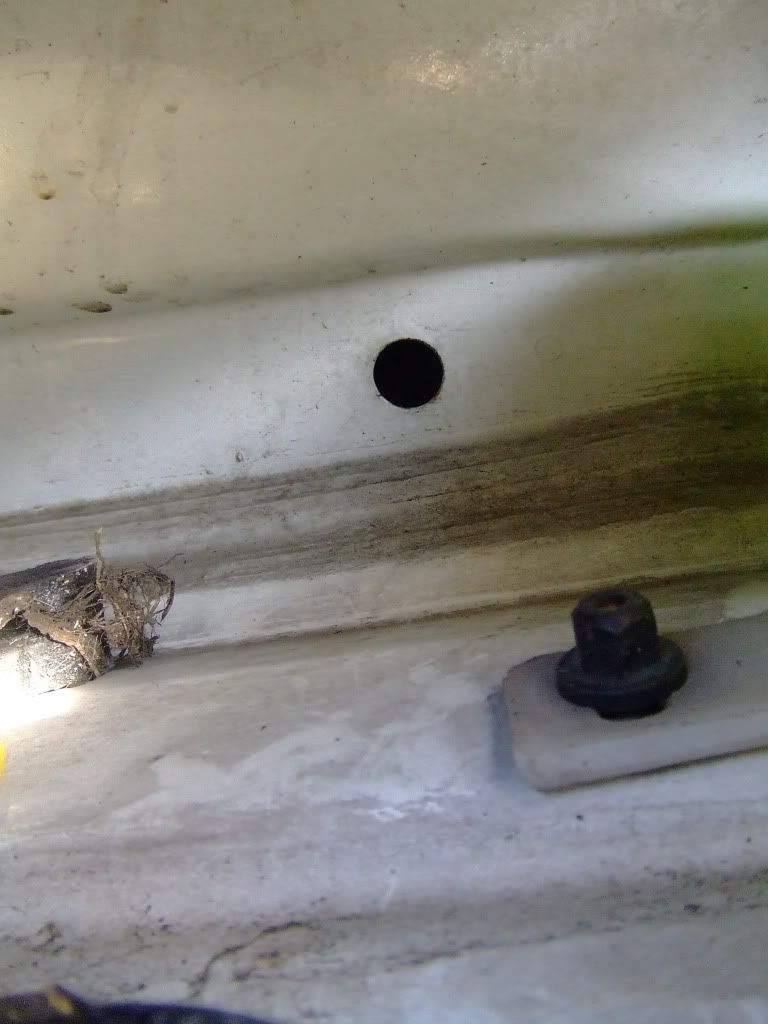
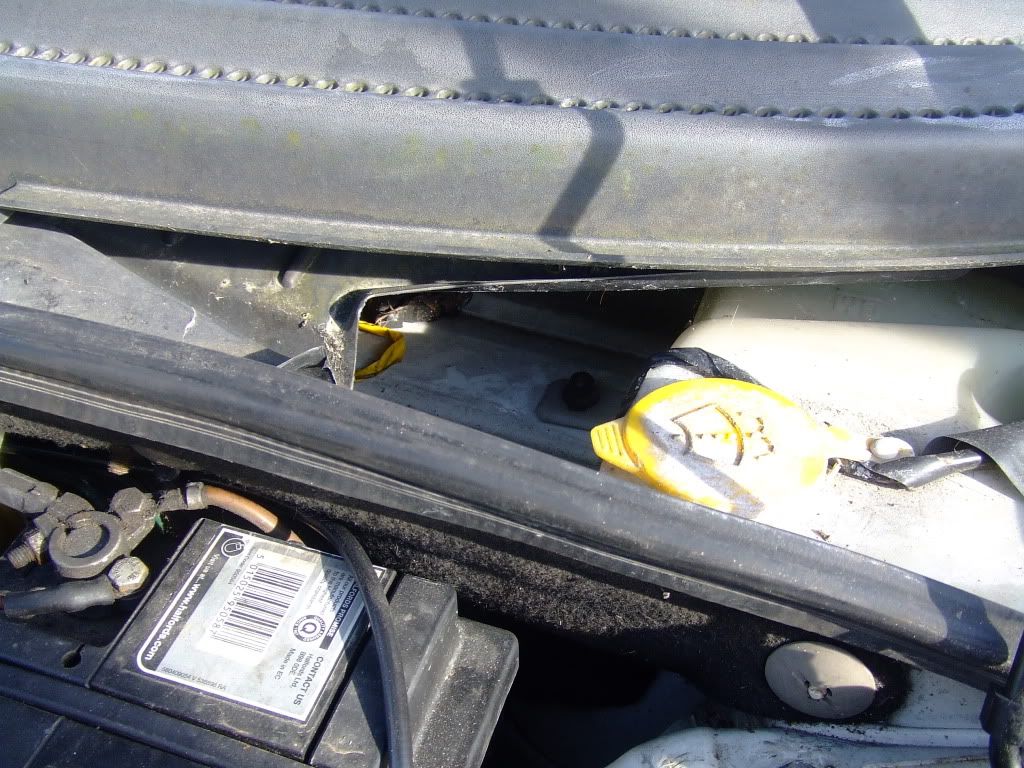
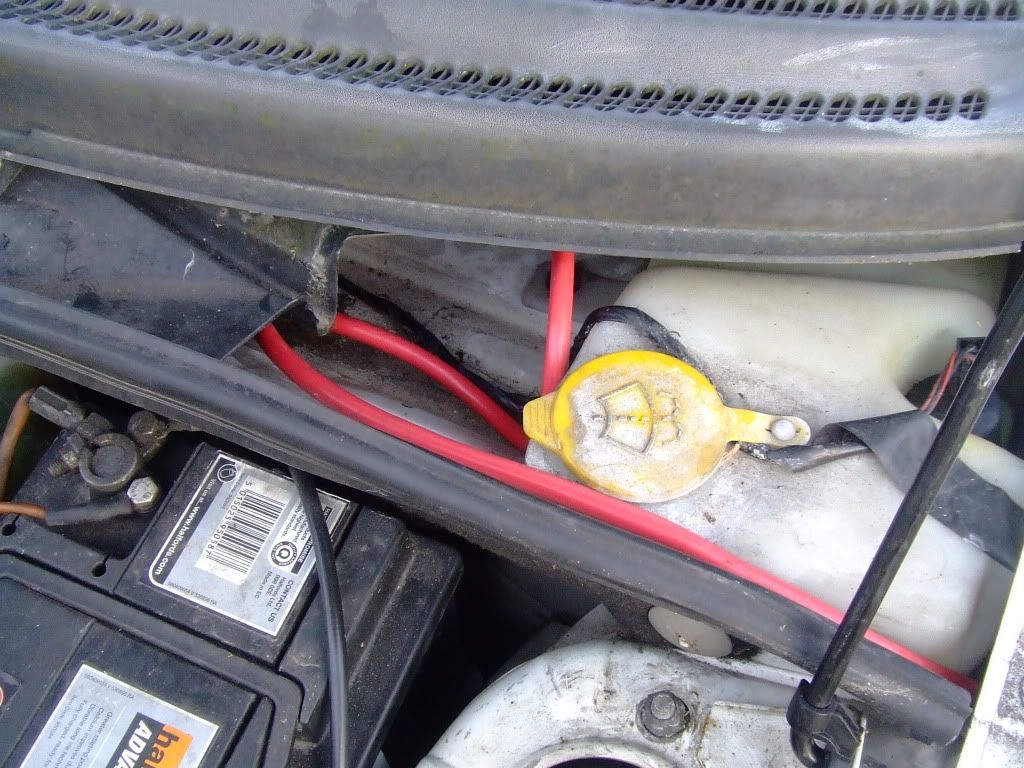
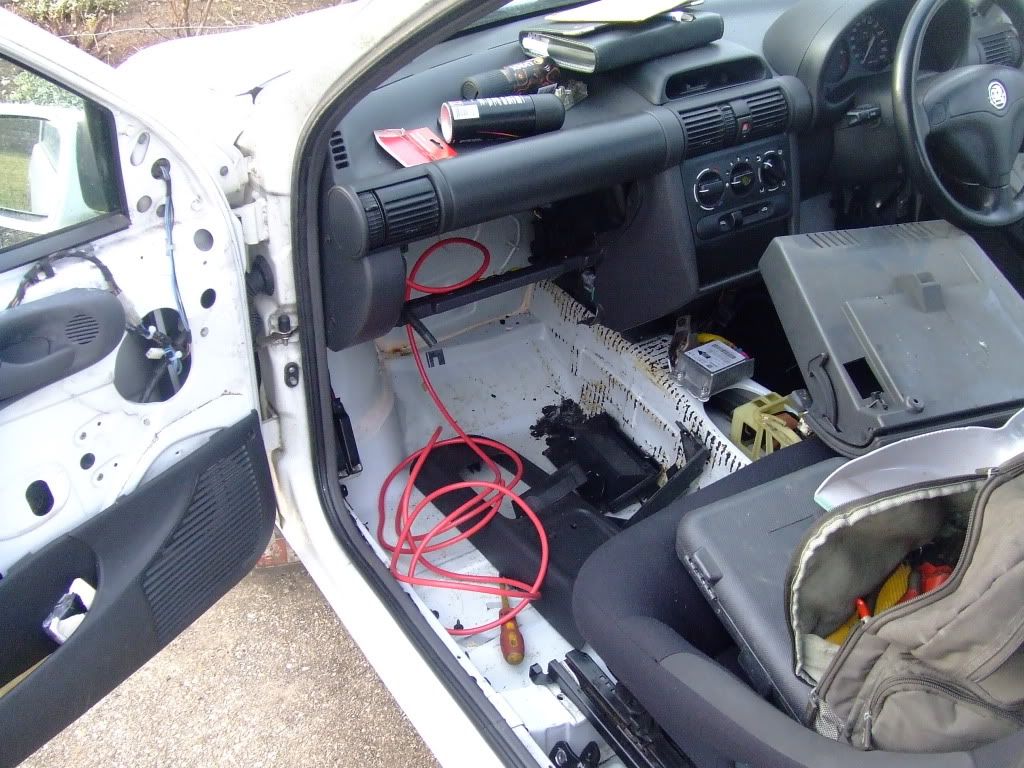
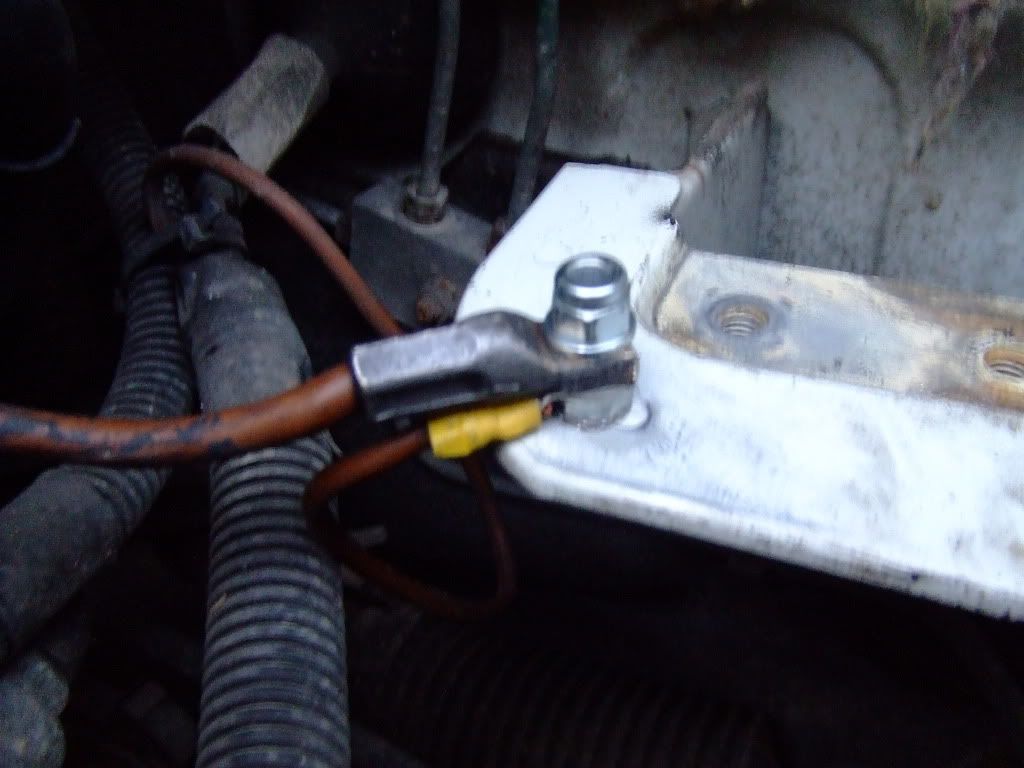
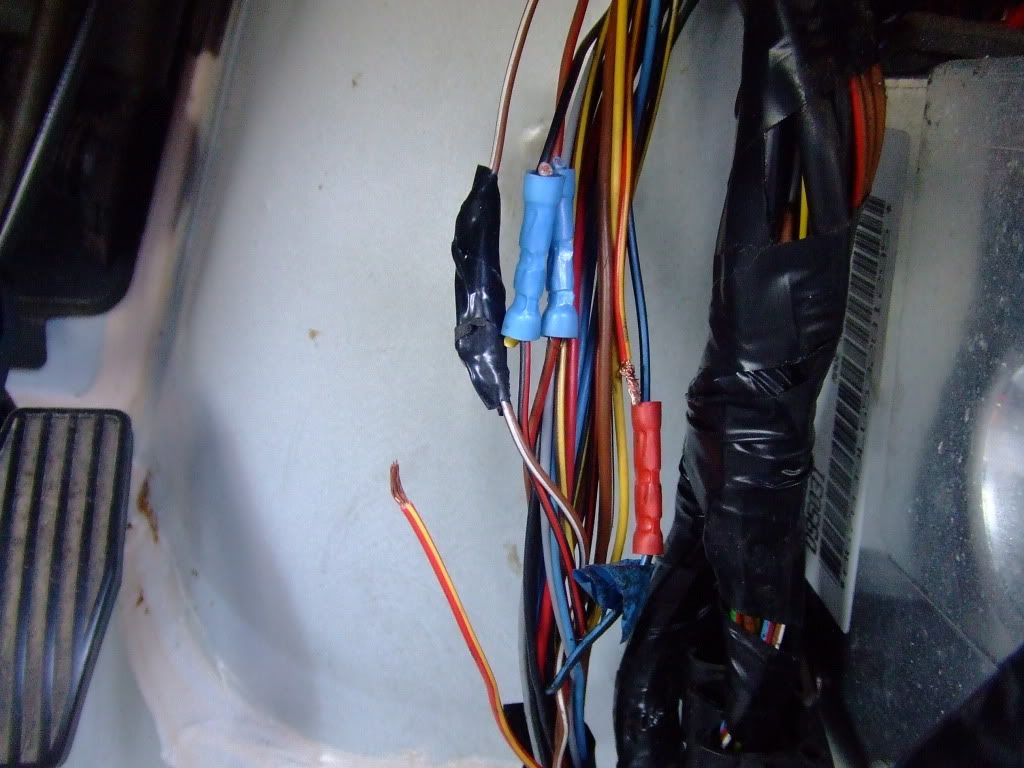
Then, after finding some botched wiring on Saturday (with cut & crimped connections with extra trailing cables going nowhere), I wasn't happy with the crap crimps used, so for now have recrimped them all with high quality ones from my work stock, then taped each crimp individually and then taped the whole loom - I'll pick up some heatshrink when I go to my offices next and then solder the cables and do them properly - first picture is how I found it, after the exposed cable visible had its crimp fall off once disturbed, hence why I did them all again;
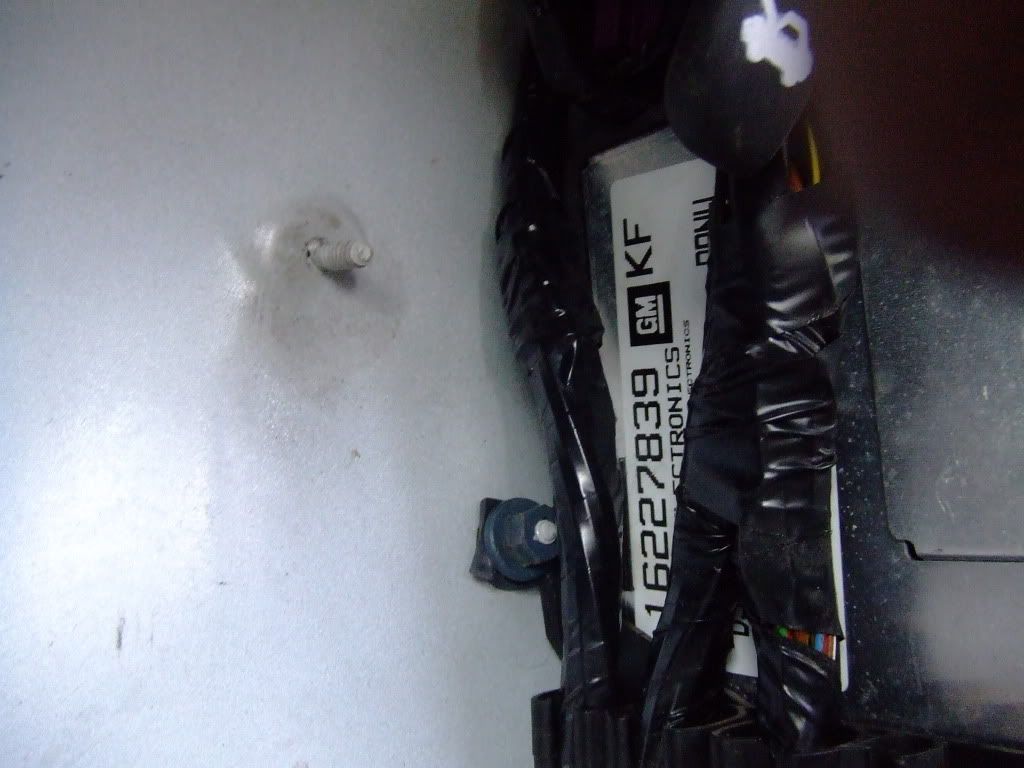
More to do tomorrow.
I'll be taking the dash out soon to remove more sound deadening etc, and also to tidy up all the wiring and rectify any more botches I find, most likely near the stereo plugs, which is always a common place.
All good fun.

-----------------------------------------------------------------------------
Parcel through the post today...
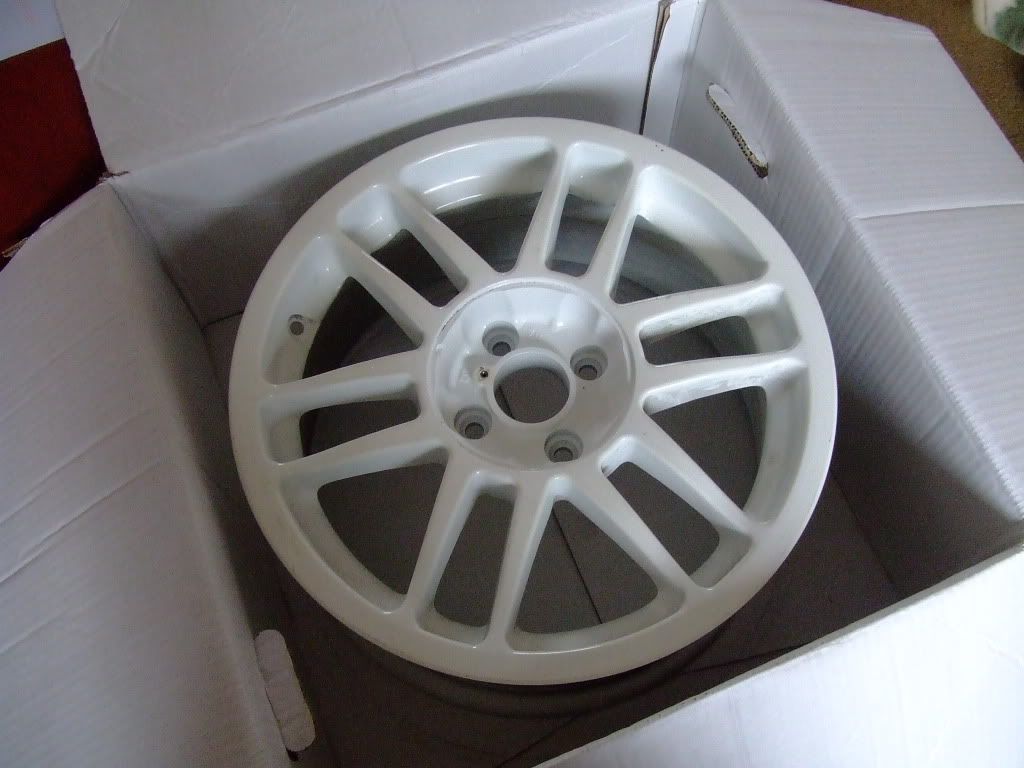
Brand Spanking, Never-seen-a-tyre New. £30 Delivered. Win.
Big thanks to Mark for finding it, I was happy to settle on any 16" Wheel that would fit, let alone an identical match to those fitted!
Now to get my Spare Contisport fitted...
------------------------------------------------------------------------------
Tyre Fitted, cheers to Mark again!
So now the spare wheel has found it's way into the car...
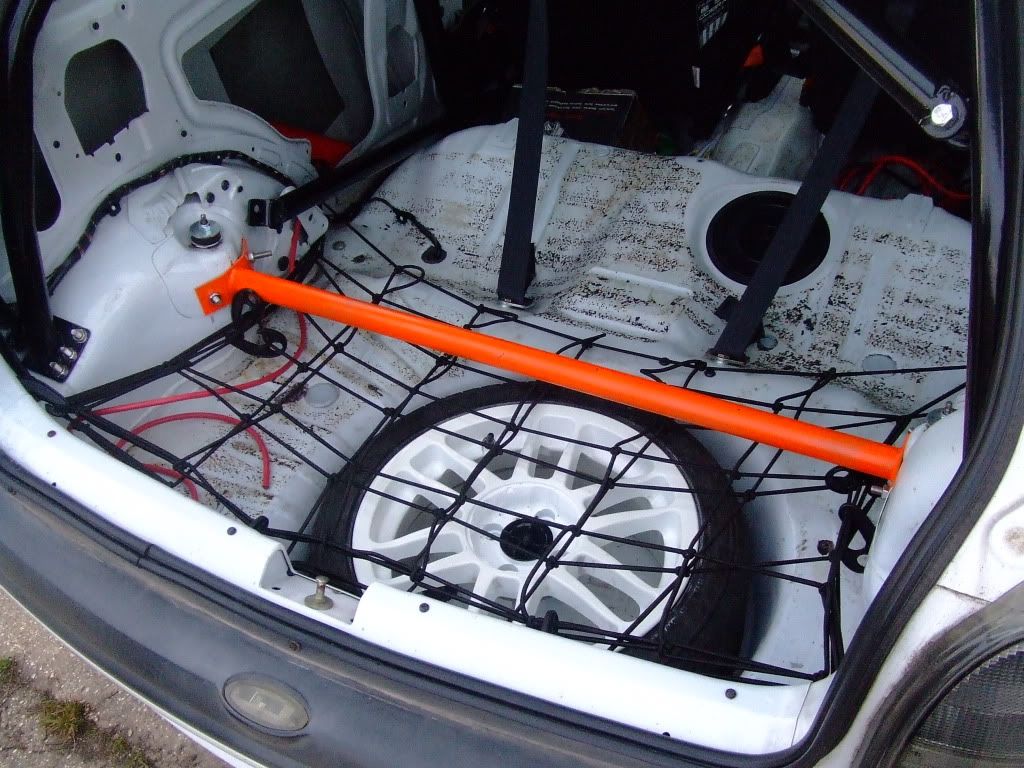
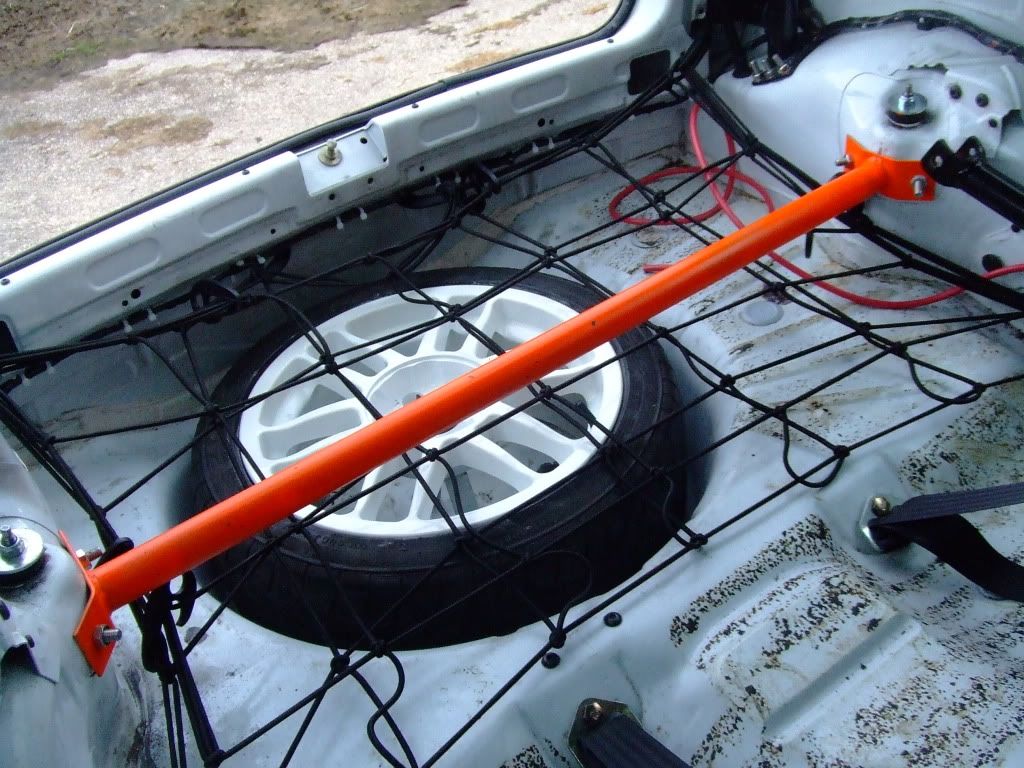
------------------------------------------------------------------------------
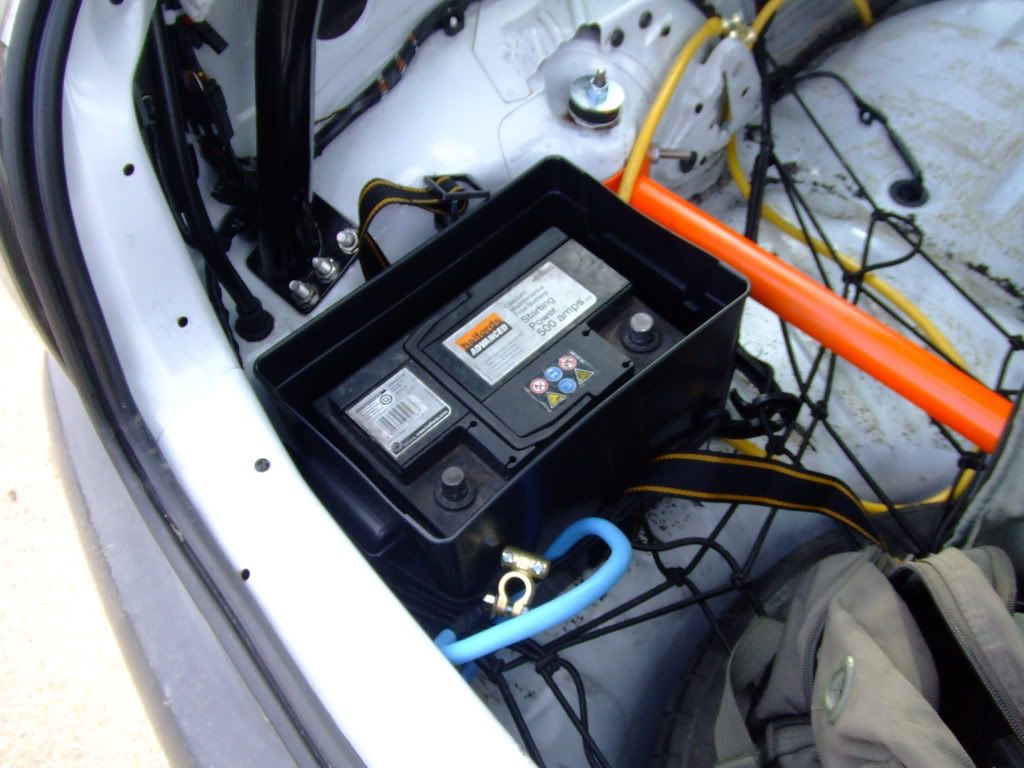
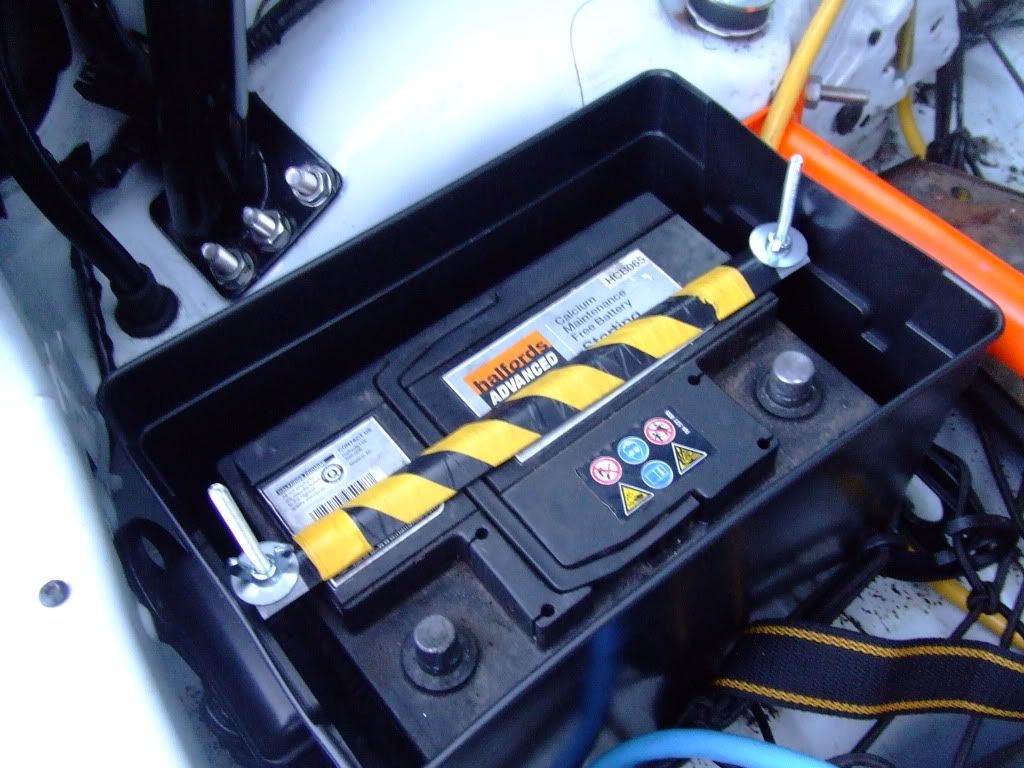
Its a Box.
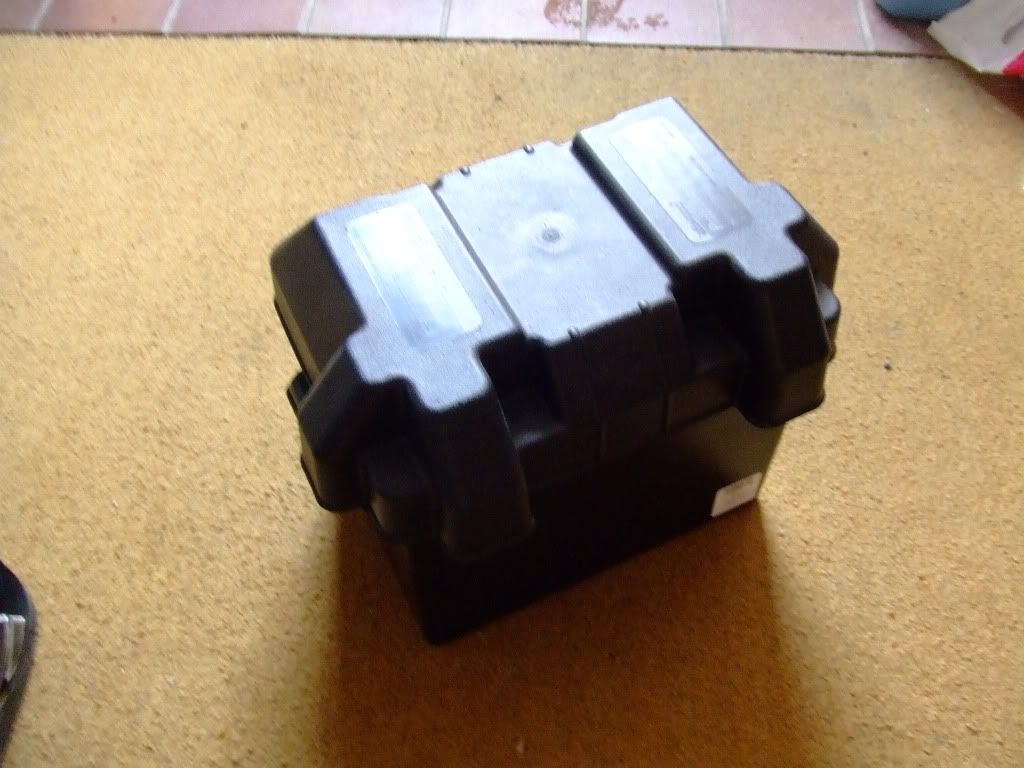
For a Battery.
-------------------------------------------------------------------------------
My stuff arrived, just in time for a long weekend...
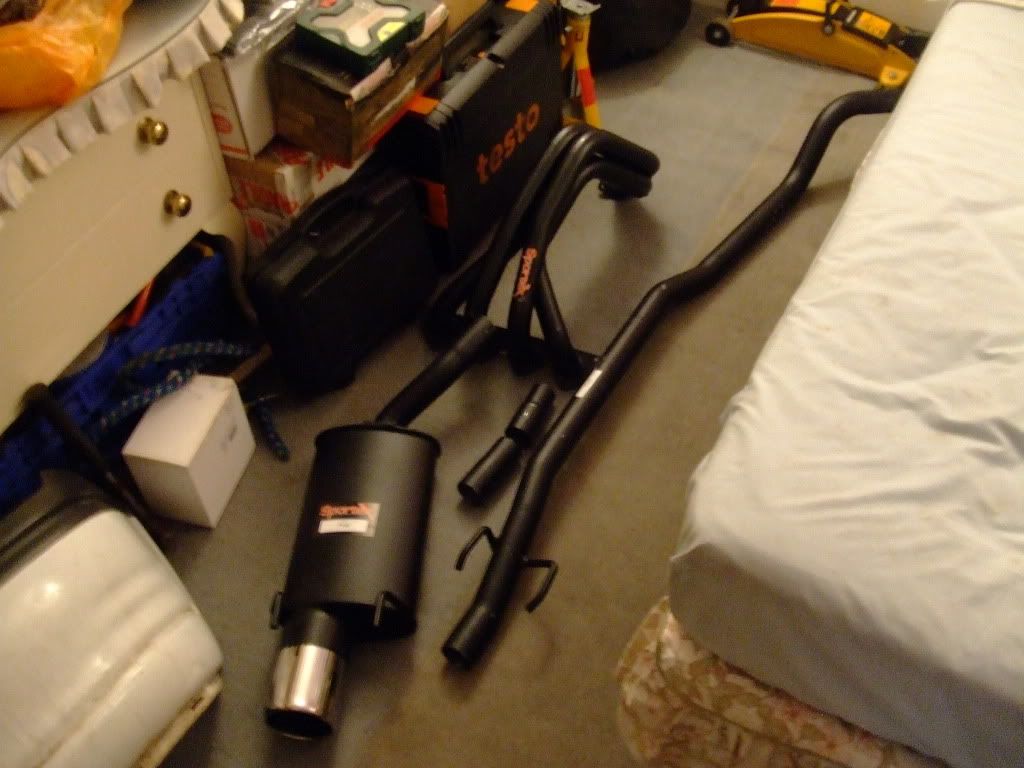
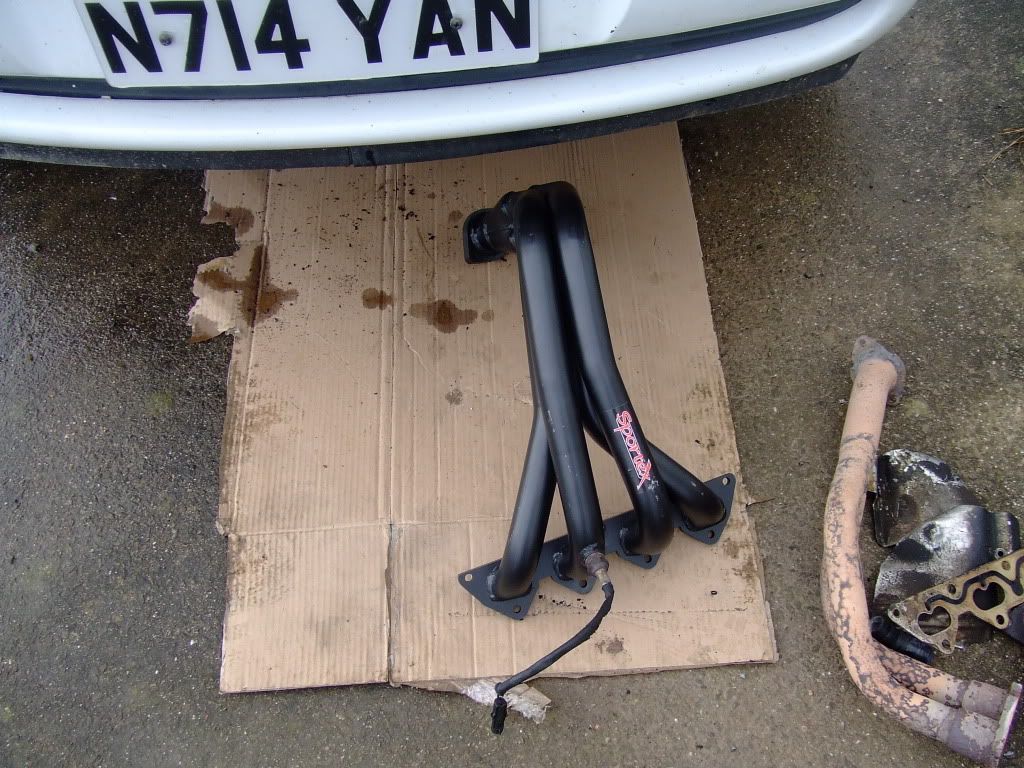
Sportex 4-1 Manifold & System with 4" Tailpipe, with unsilenced Centre Section.
So, with any luck, i'll have the full system fitted, plus all the Battery Stuff (if I can find a car audio place open on saturday to buy a Junction Block and Fuses) by next week.
---------------------------------------------------------------------------------
Anyway, I still braved the rain and cold for a while, and managed to get the Manifold on. Typically, it stayed dry whilst I was working under the bonnet, but as soon as I got on the floor, it started bucketing, and didn't stop.
Also, having issues mating the Cat up to the downpipe flange, but did on the OE downpipe too, so must be an issue with the pattern Cat - still, got around it by removing the packed wire gasket and replacing it with a DIY'd graphite paper gasket and blue Hylomar and pulling the 2 flanges up together - seems to have worked, but with other blows present, hard to tell at this moment.
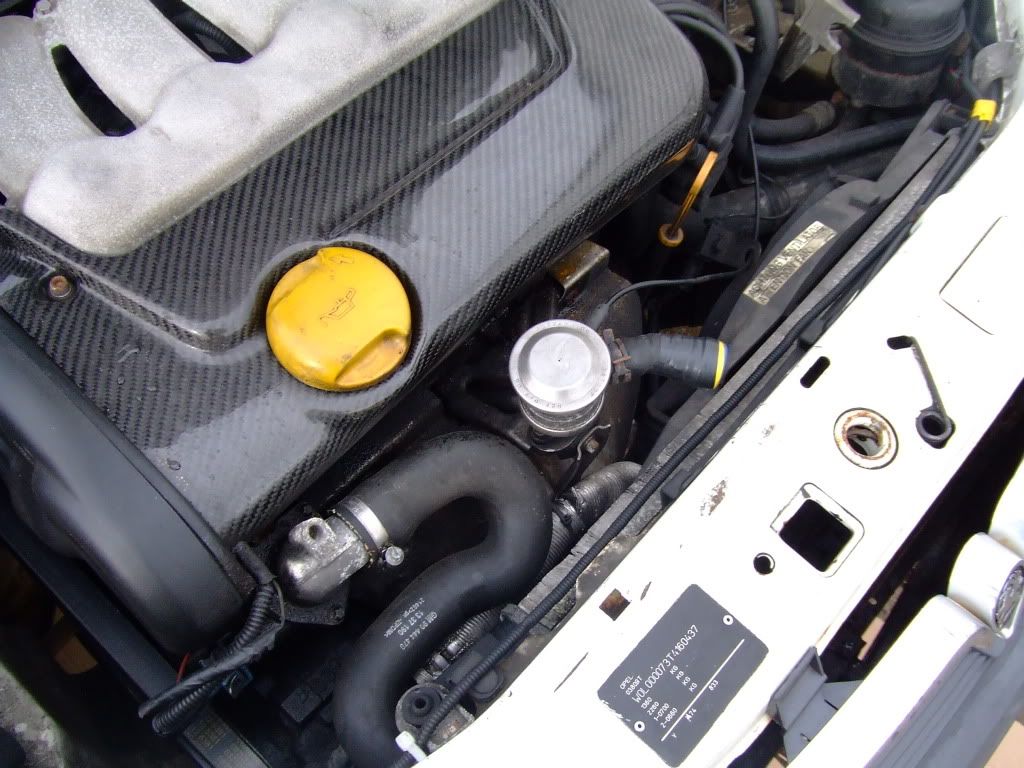
How we started - oily messy manifold and heatshield
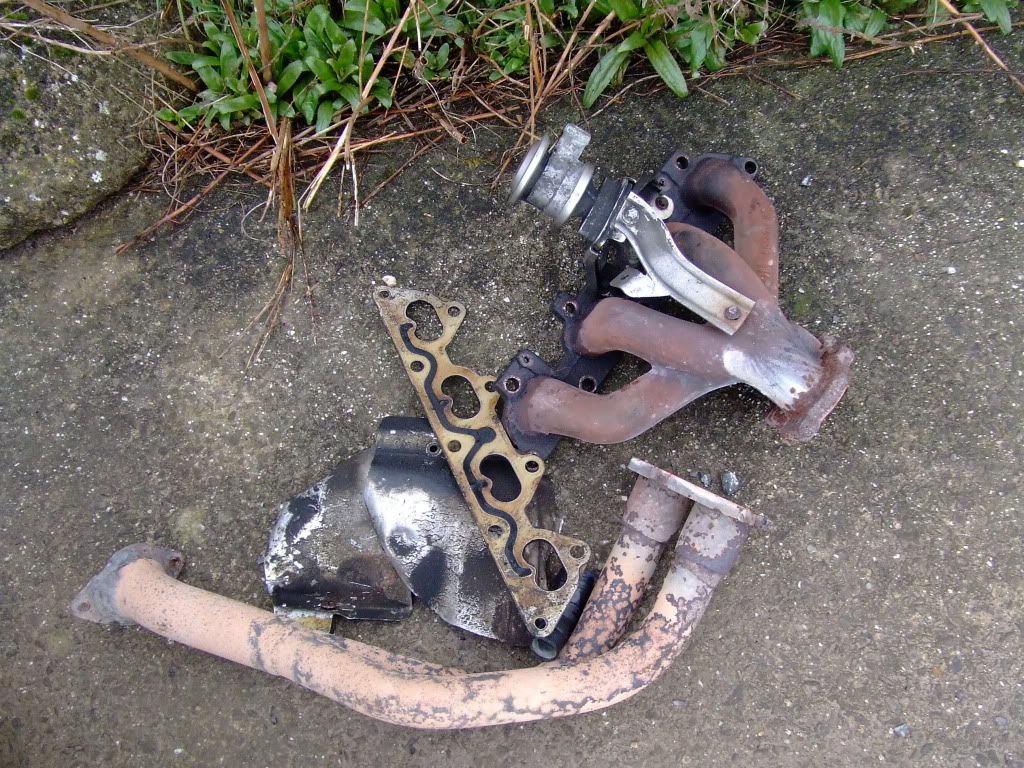
After a few choice words, got it all off - note the heatshield in 2 pieces - last time it'll make me struggle...
New shiny Manifold with Lambda transferred across
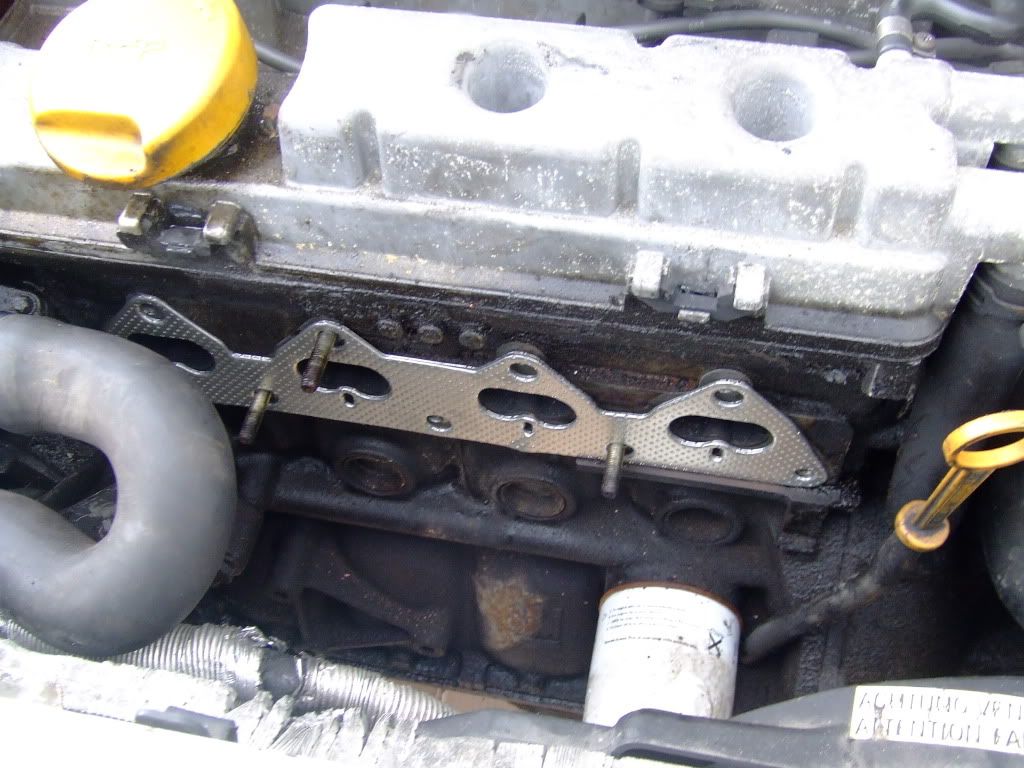
New shiny Gakset in place
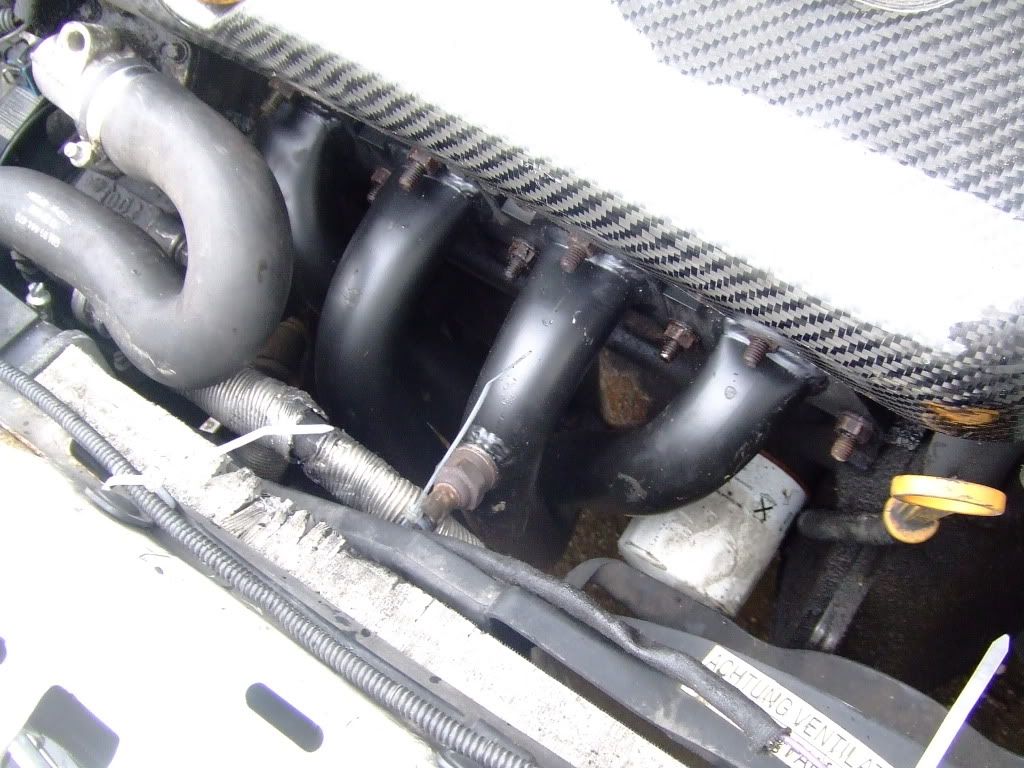
All fitted and pulled up tight
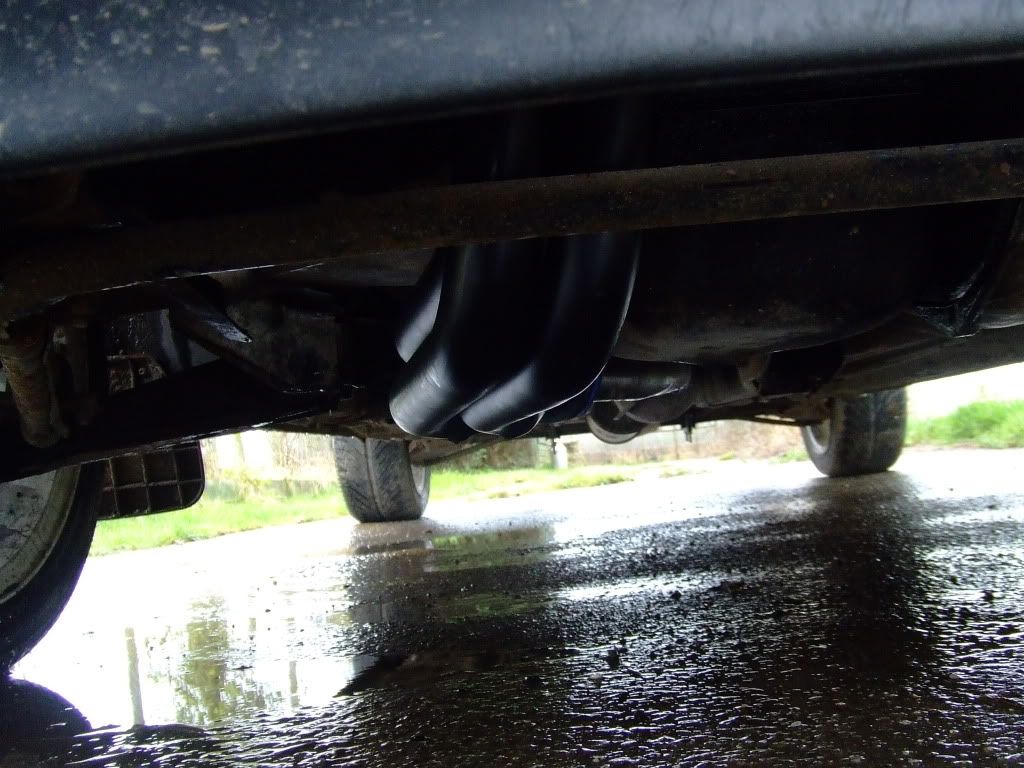
And a nice bundle of pipework under the Sump now
-----------------------------------------------------------------------------
Made a decent start on the Battery Relocation this morning, couldn't get more done as we are doing family based stuff today. Stupid Easter.
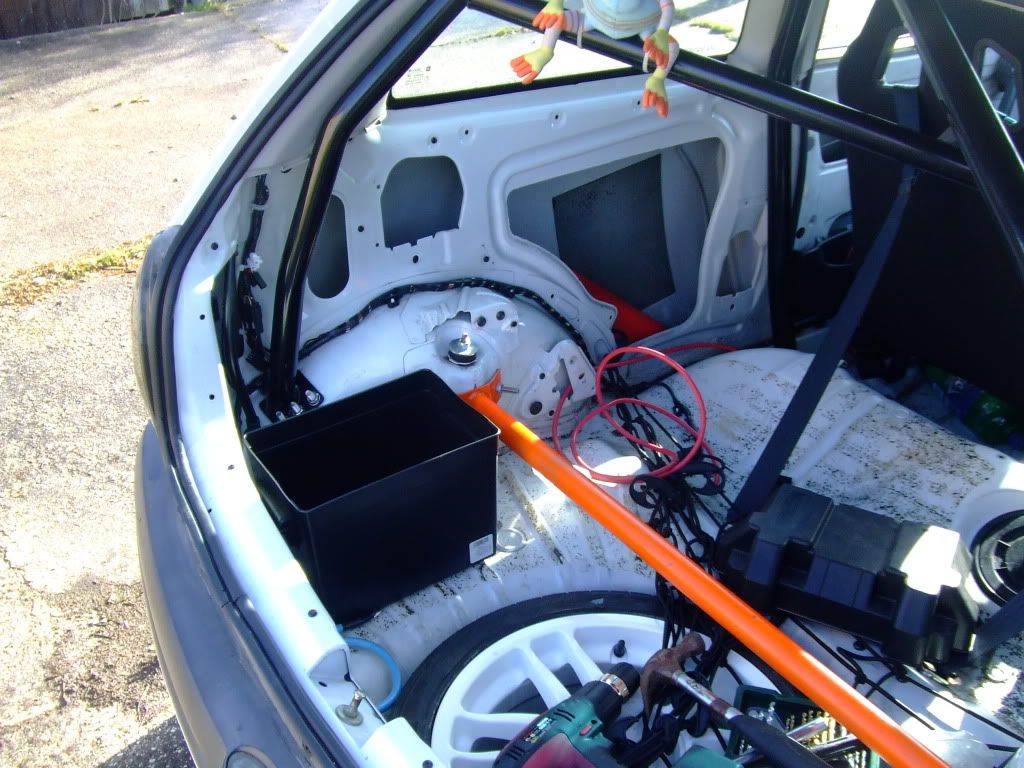
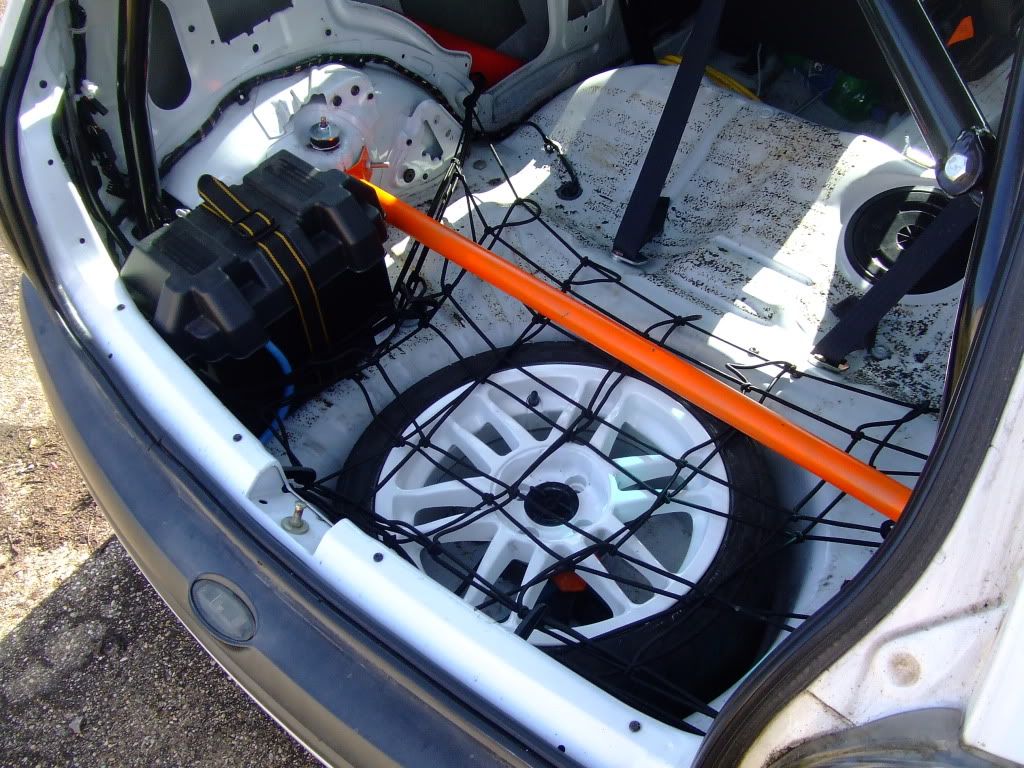
Anyway, I sat the Box in a suitable position - wasn't much room between the rear end and the strut brace!
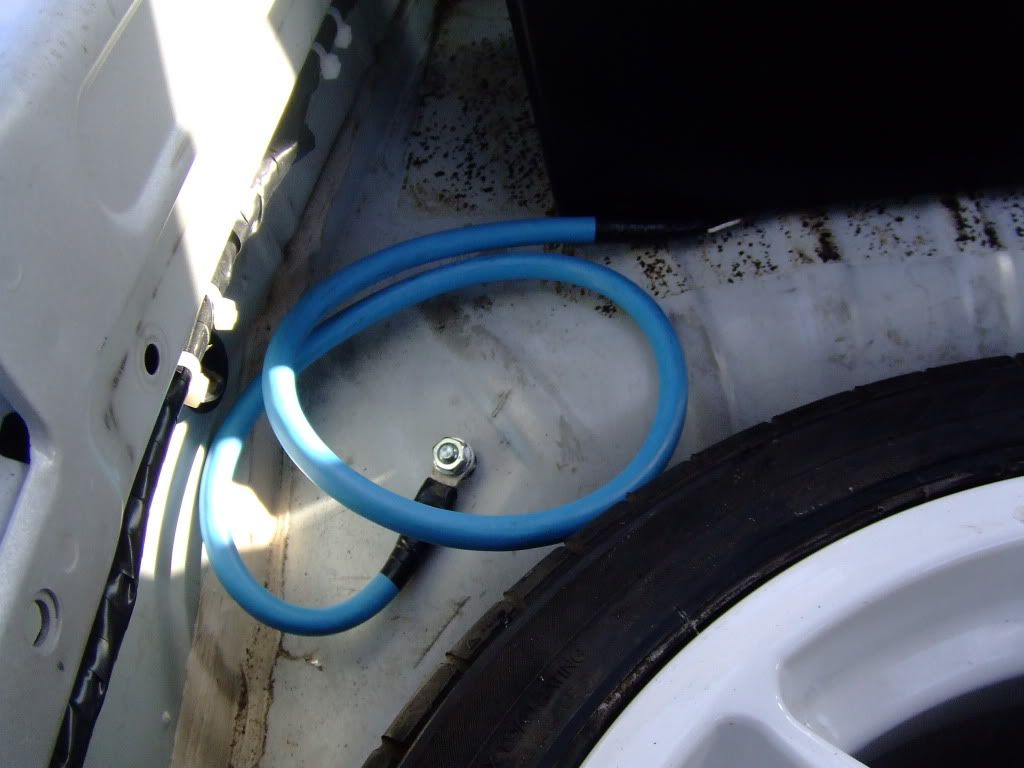
Then, cut & crimped the Negative/Earth Cable and fitted a mounting stud - then terminated the earth cable
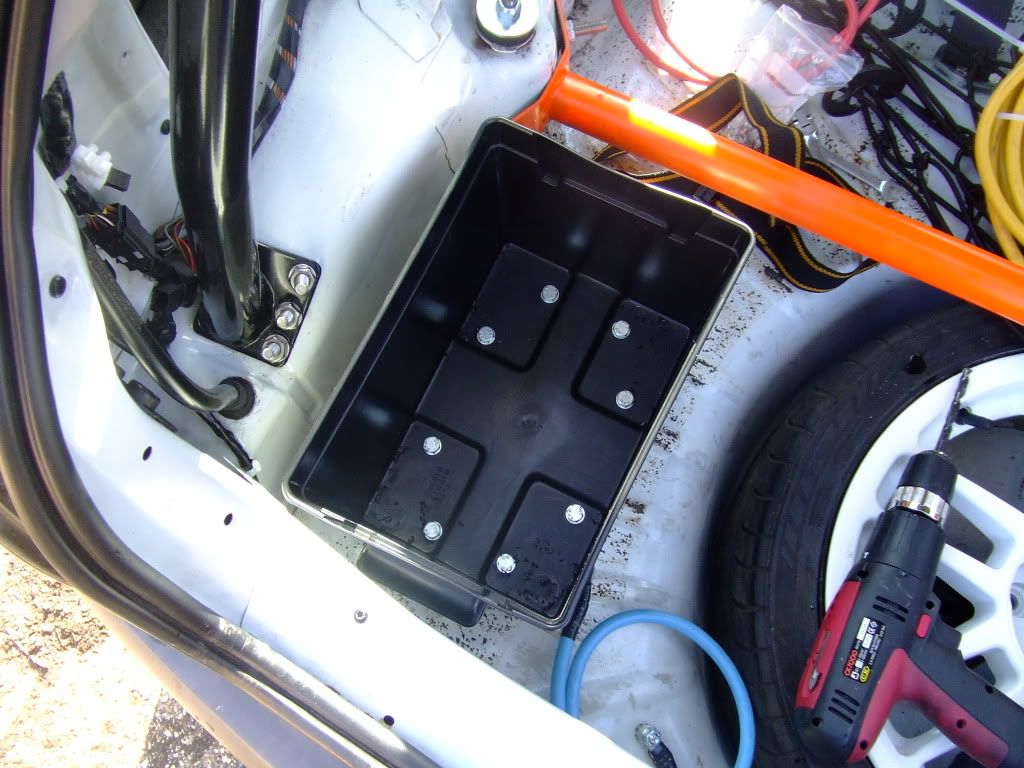
Mounted the Box - 8x M8 Mounting Bolts
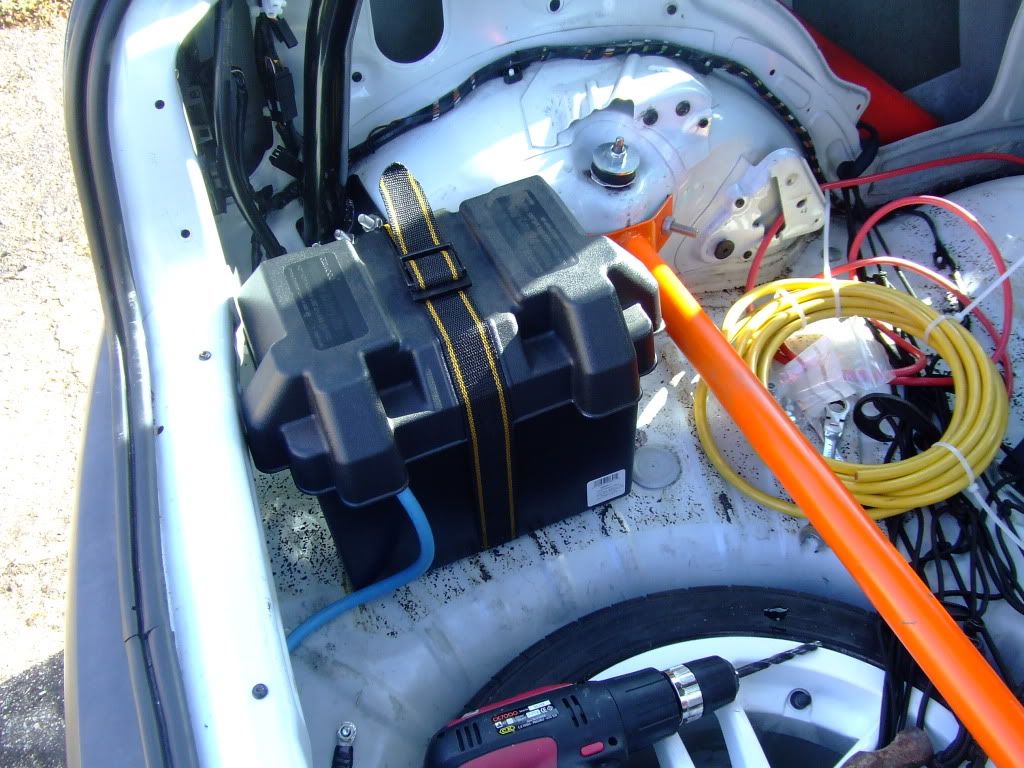
Fitted the battery terminal to the Earth Cable, ran it into the box, put on the lid and the securing strap
Crimped one end of the new power cable and fitted the battery terminal - will look to running it through tomorrow
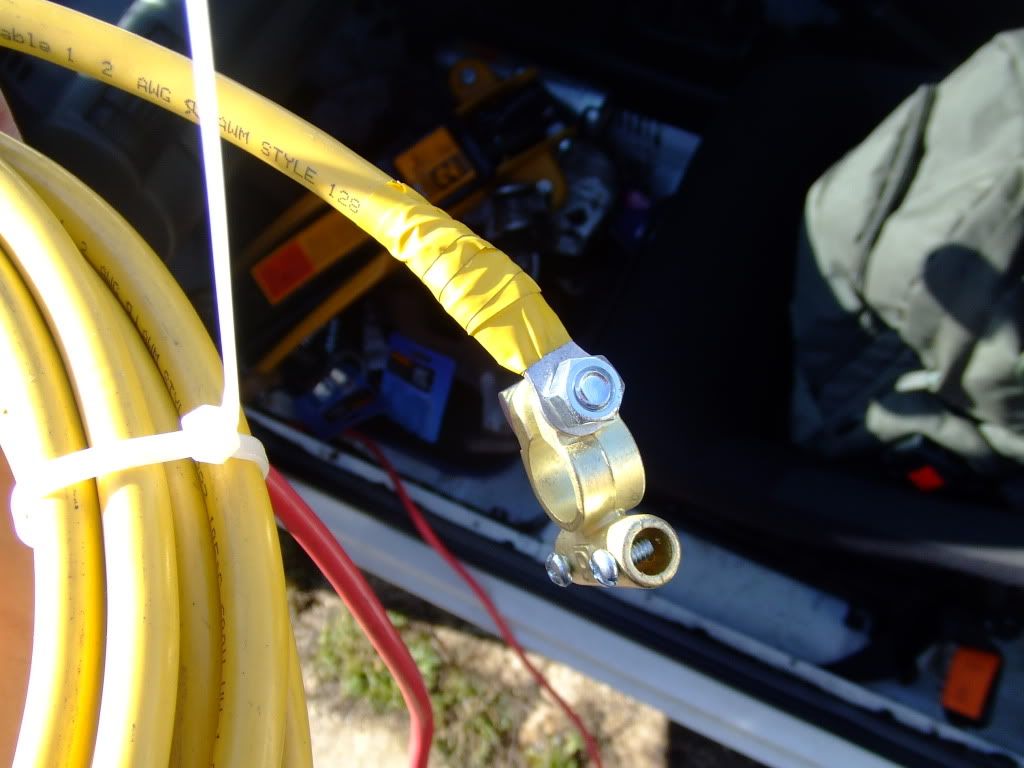
Tried to refit the Cargo Netting, but there's a little obstruction now, so may need to rethink how I can fit in the Netting...
Also, as you may have guessed, i'm changing the power cable - it somehow reminded me of pleasing a woman and knob sizes... :lmao:
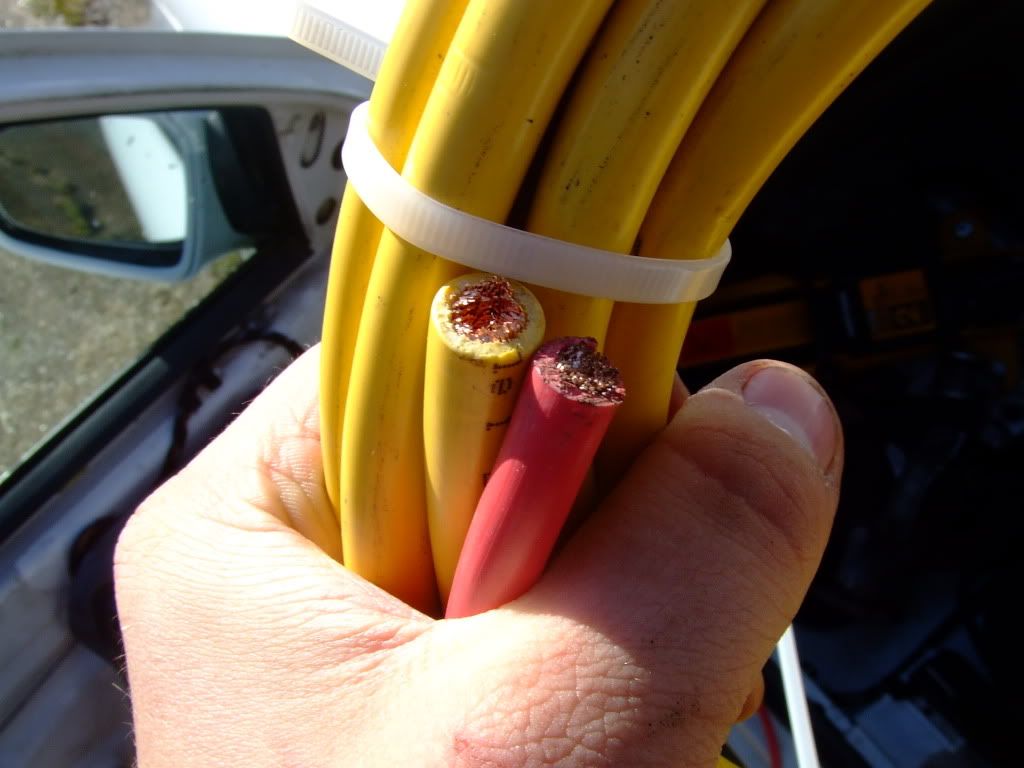
Basically, the thinner red cable (16mm2) was adequate, and would have done the job ok, but the thicker yellow cable (35mm2) would do the job better and is likely to give better results.
A strange way of looking at it, but slightly logical... :lmao:
-----------------------------------------------------------------------------
Productive Day!
Managed to finish fitting the Exhaust System and the cabling for the Battery Relocation, also did a few other little things, not all is pictured...
So, went up to my Cousins to use his better Jack and Stands, and also for another pair of hands! Got all 4 corners up for easy access...
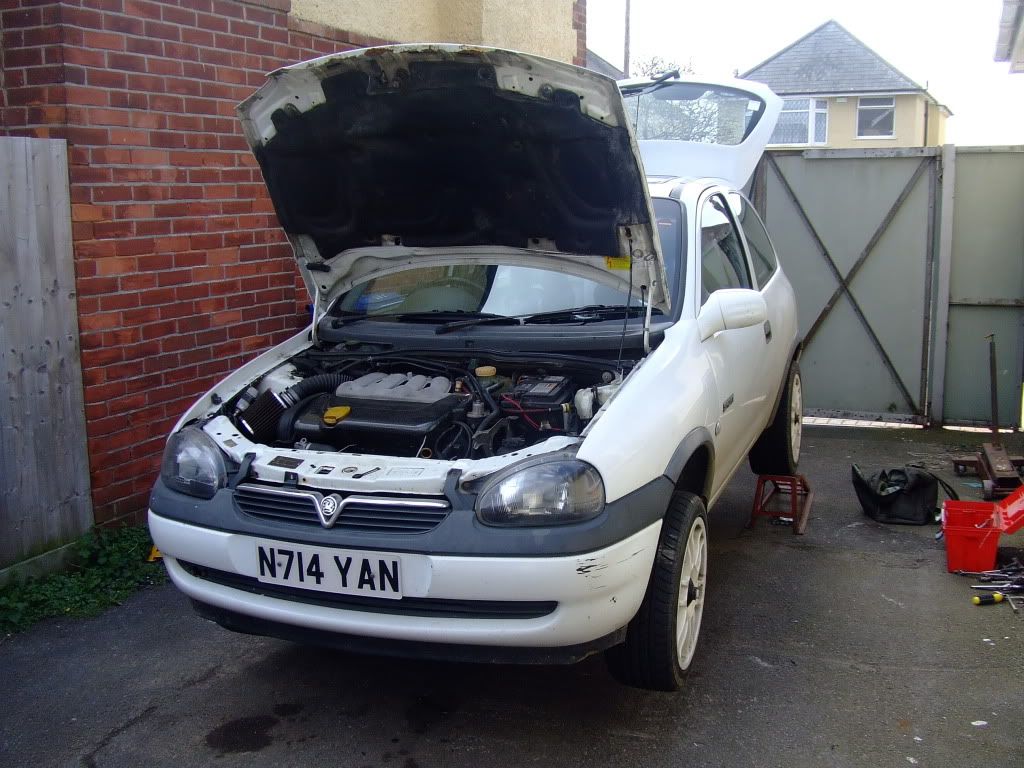
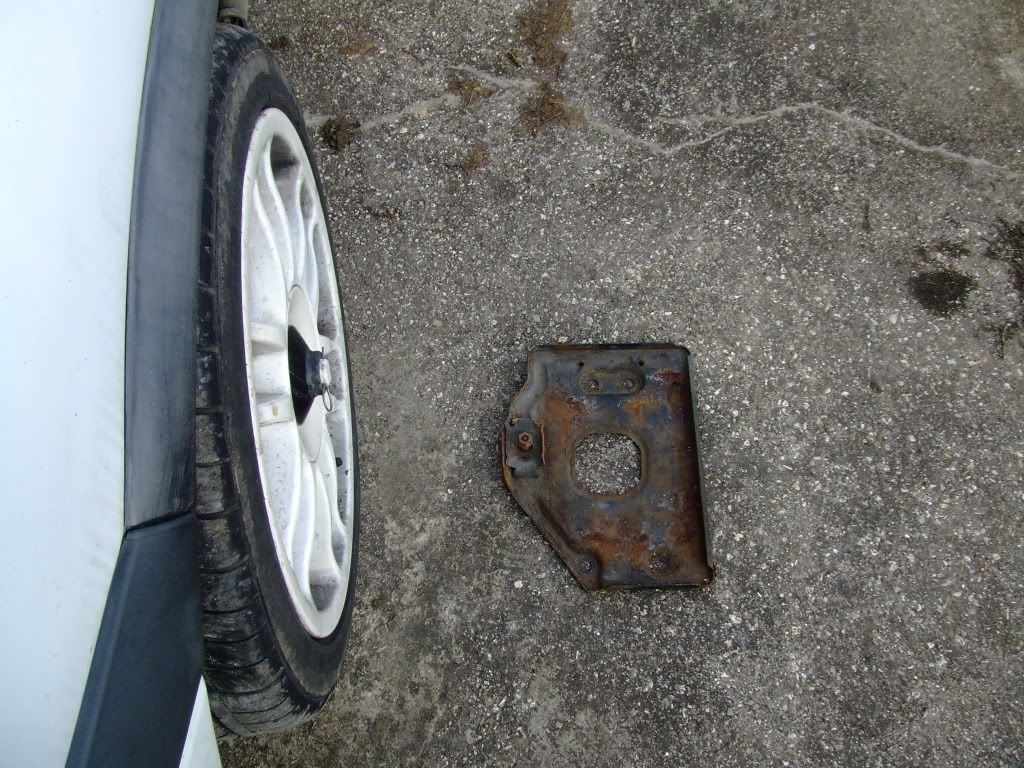
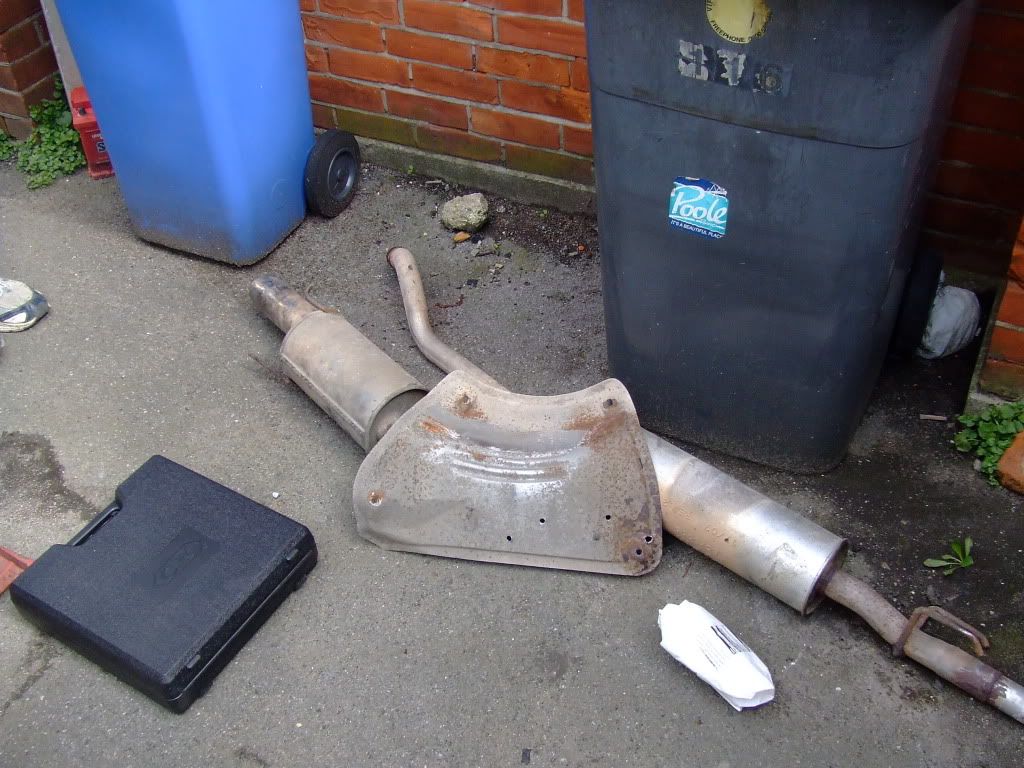
Removed the old system - both the middle box and backbox baffles had gone - both rattling like a bitch! Also removed the Cat, as it needed some modifying. Also removed a Heatshield that was above the backbox, and in the way of the bolts for the Battery Box, and chucked it with the rest of the scrap
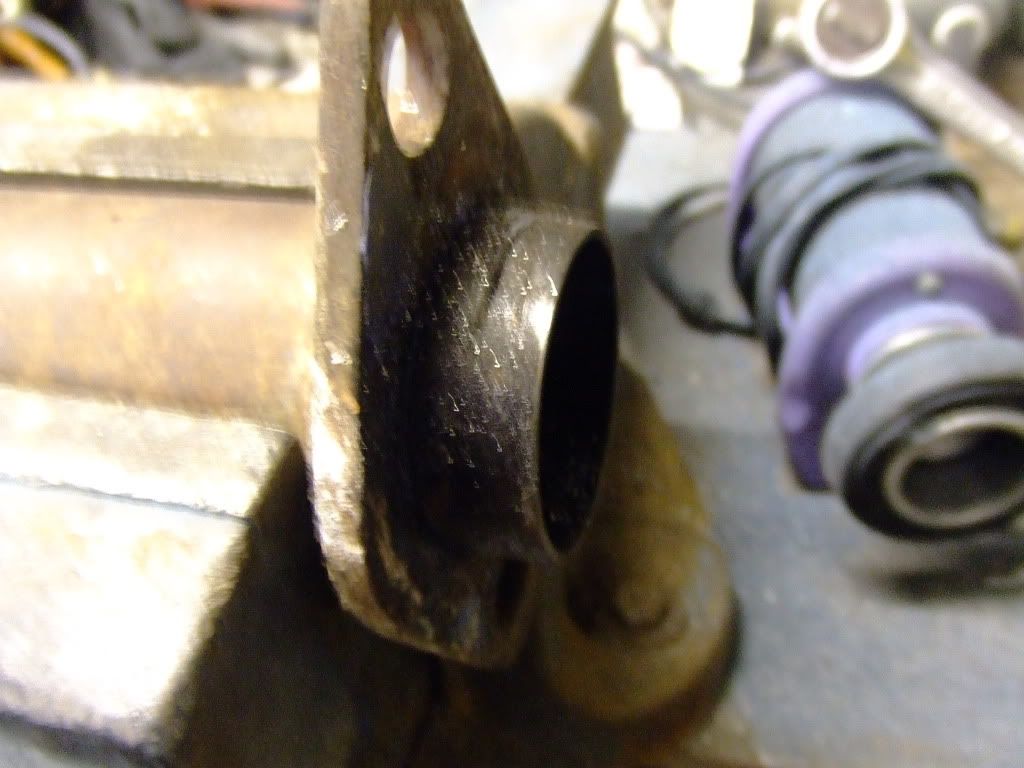
Cat marked for Modifying and cut - basically, the guide for the packed wire joint was too long, and fouled inside the Downpipe Flange, causing it to not be able to be pulled up fully
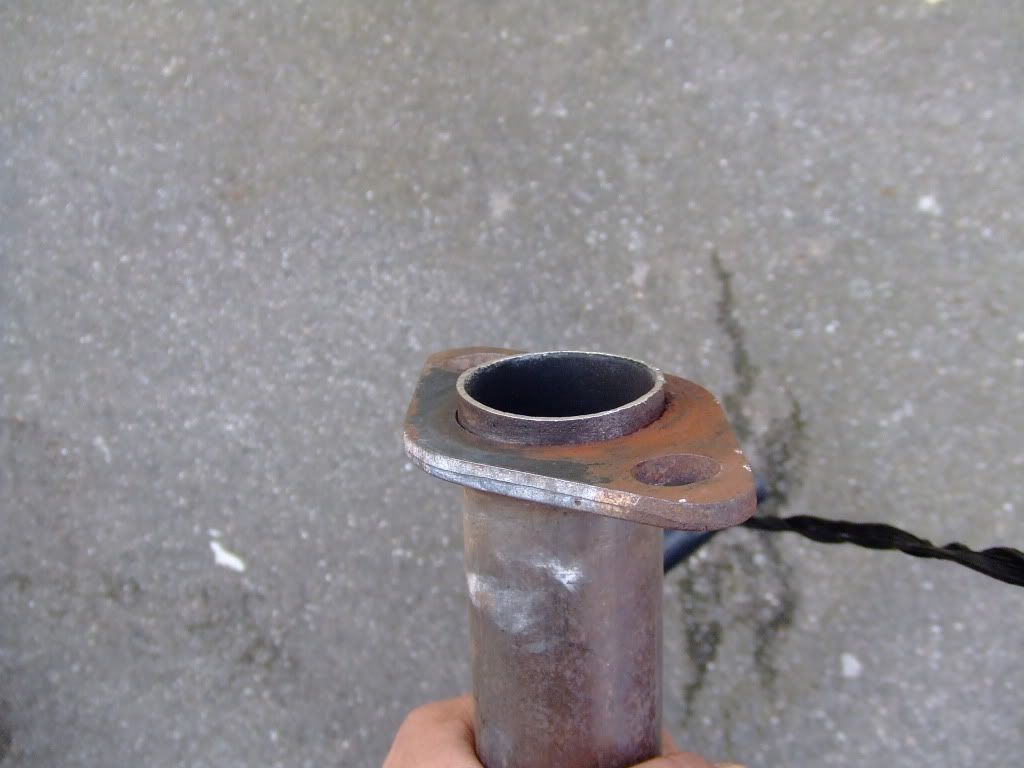
Refitted the Cat first - plenty of flue sealant around the flange to replace the Wire Gasket
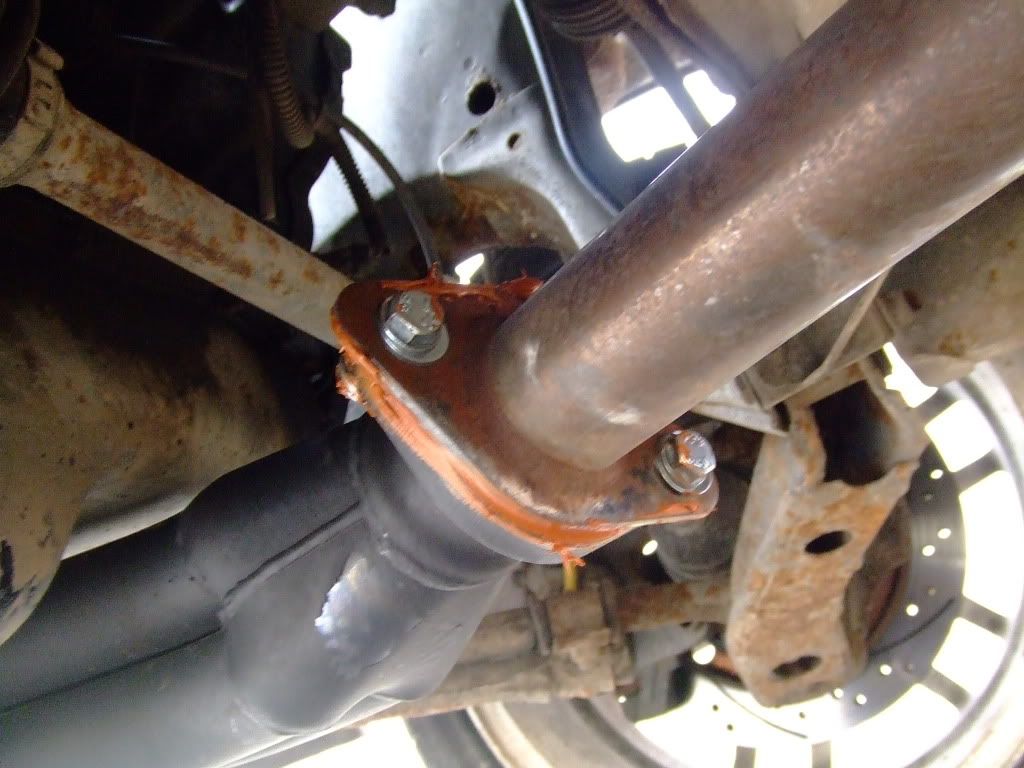
Then fitted the rest of the System
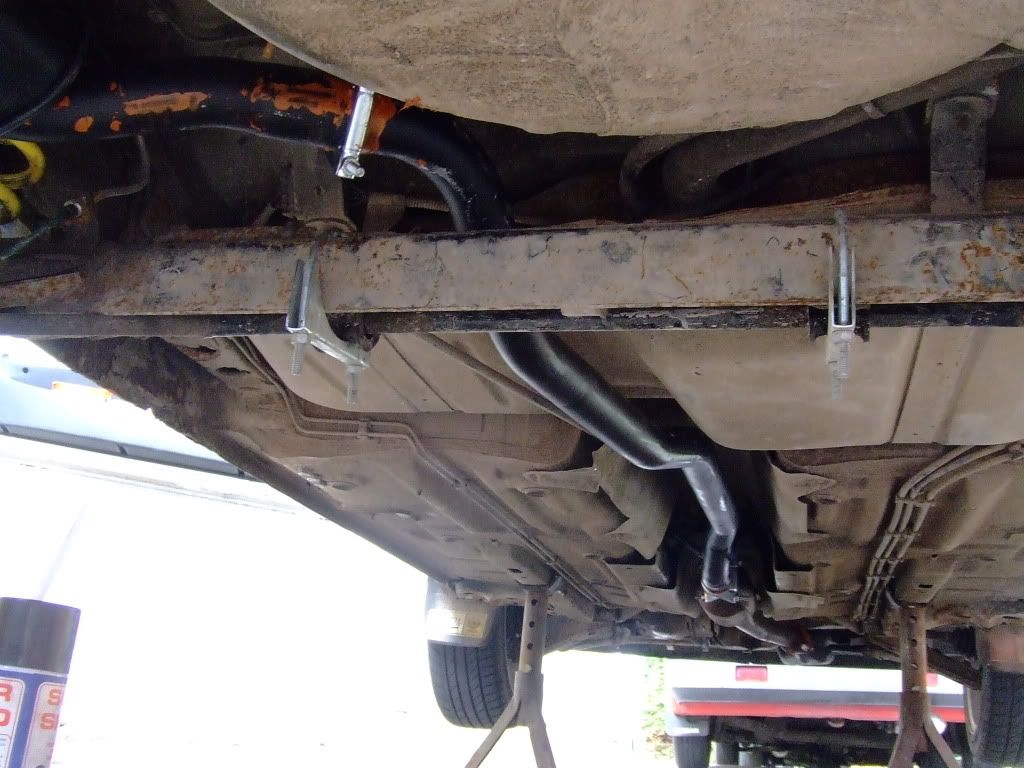
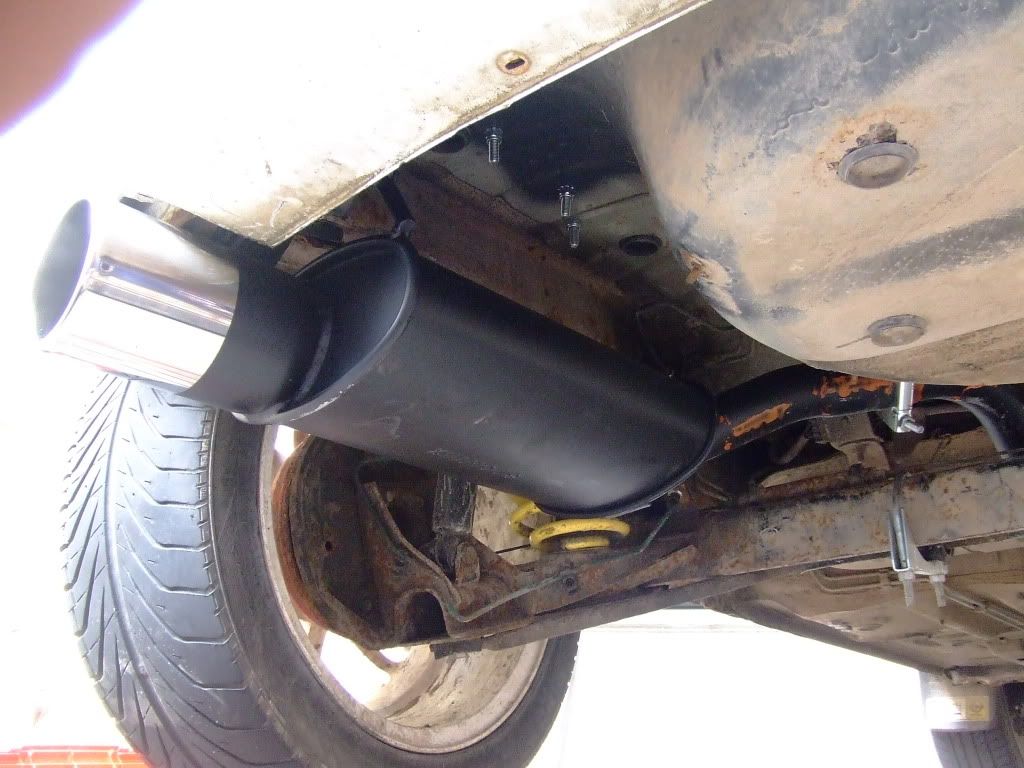
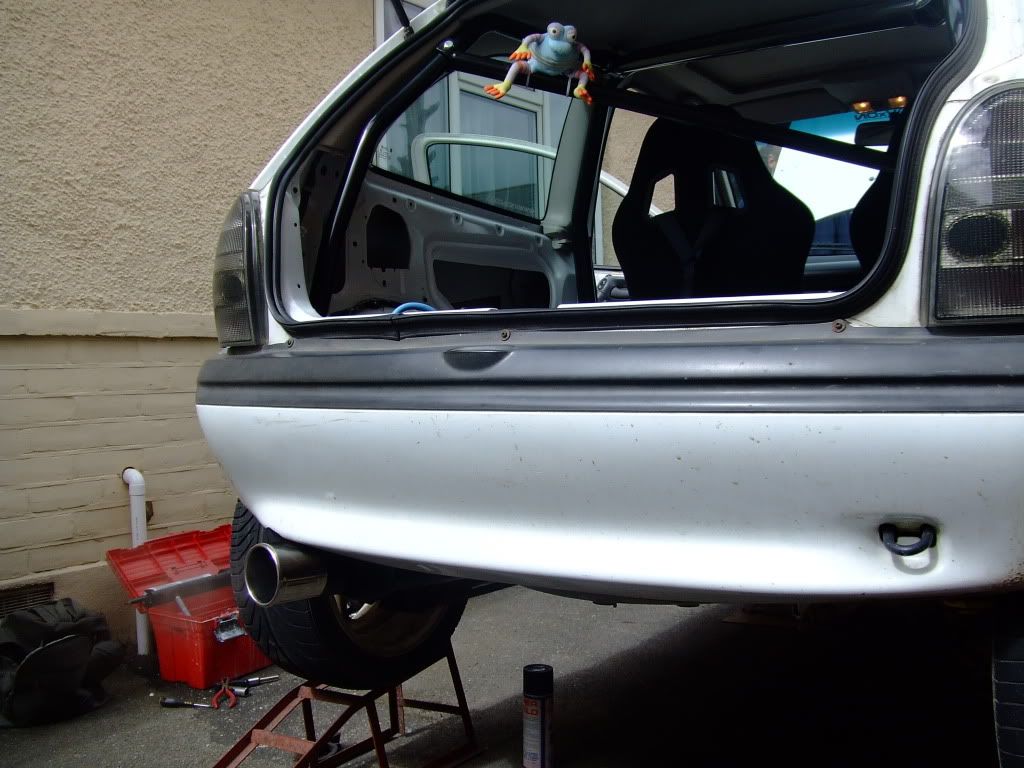
Looks a little different at the back now
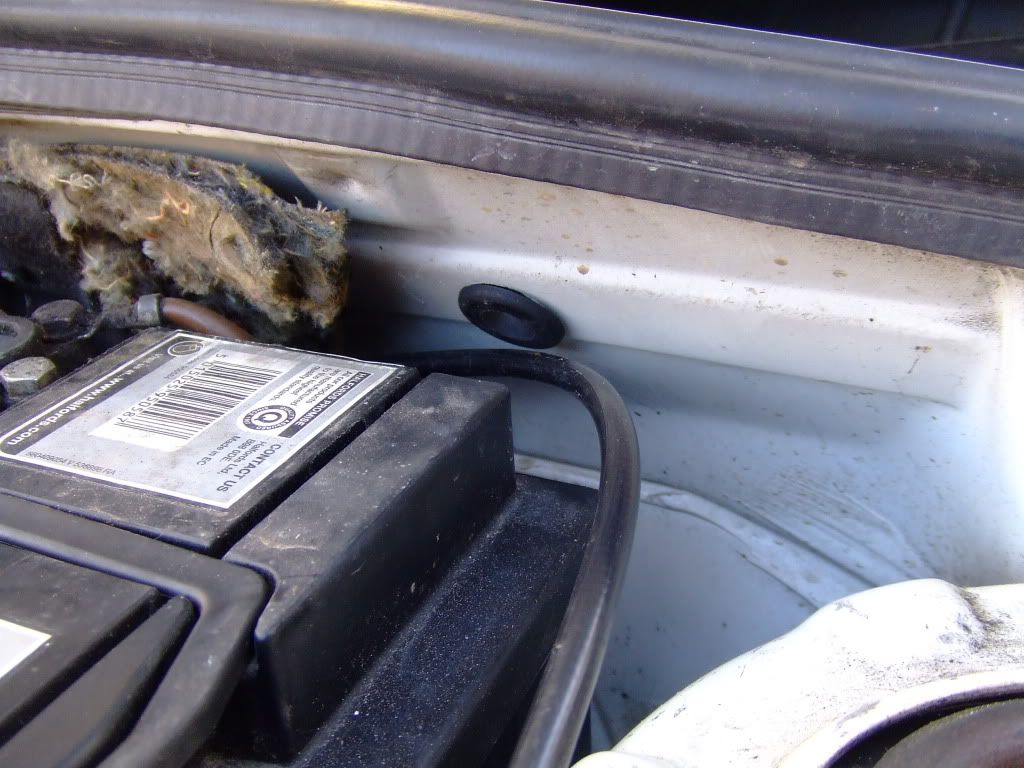
Drilled and grommeted the upper Firewall to run the new power cable through
Then ran the cable with slack to spare for the Distribution block once acquired

Then ran the cable to the Boot, also cut and grommeted 2 holes through the Seat Mounting section to minimise bends in the cable
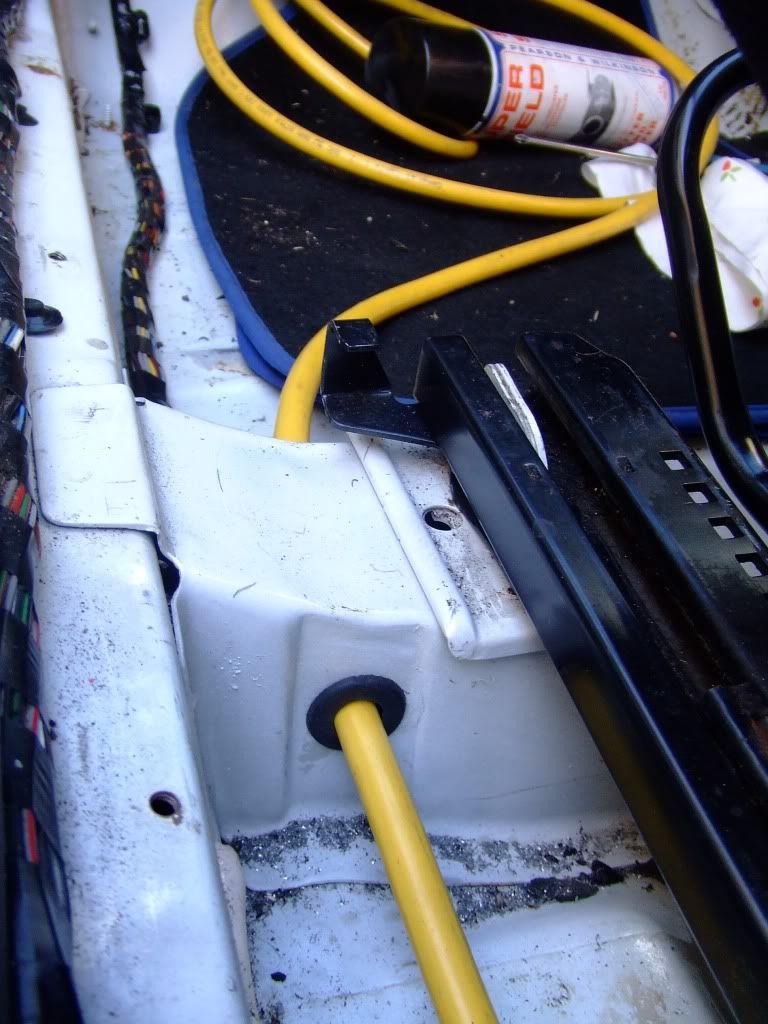
Then slowly warmed the Exhaust through for all the sealer to cure - cheap paint from Sportex didn't cope!
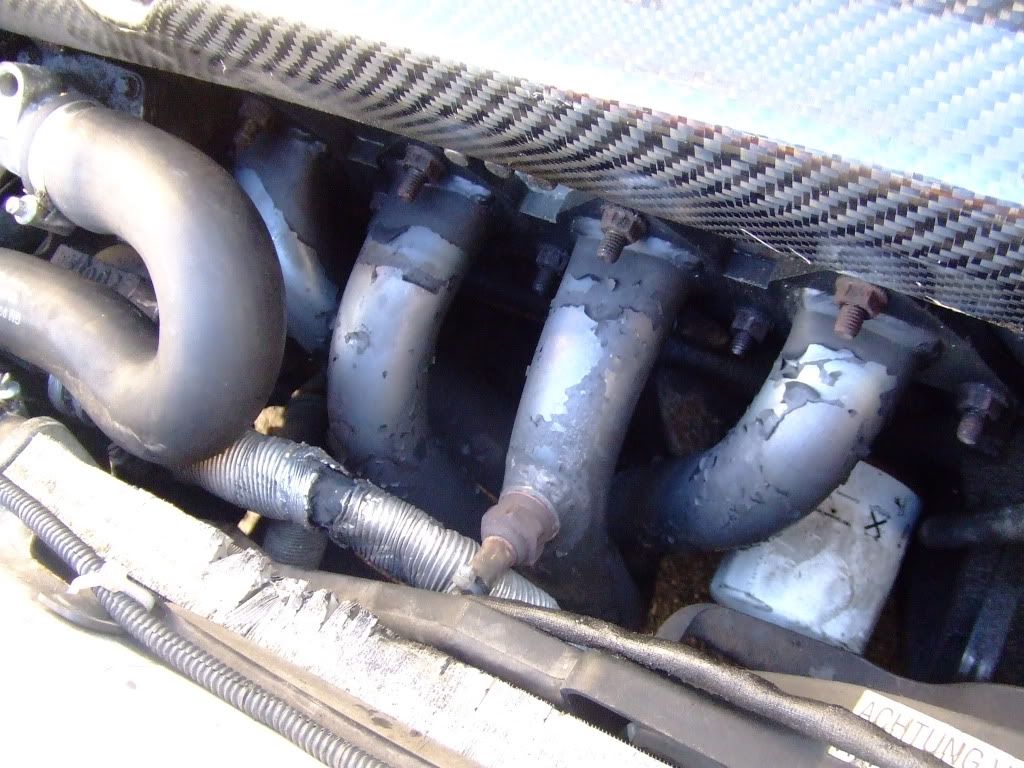
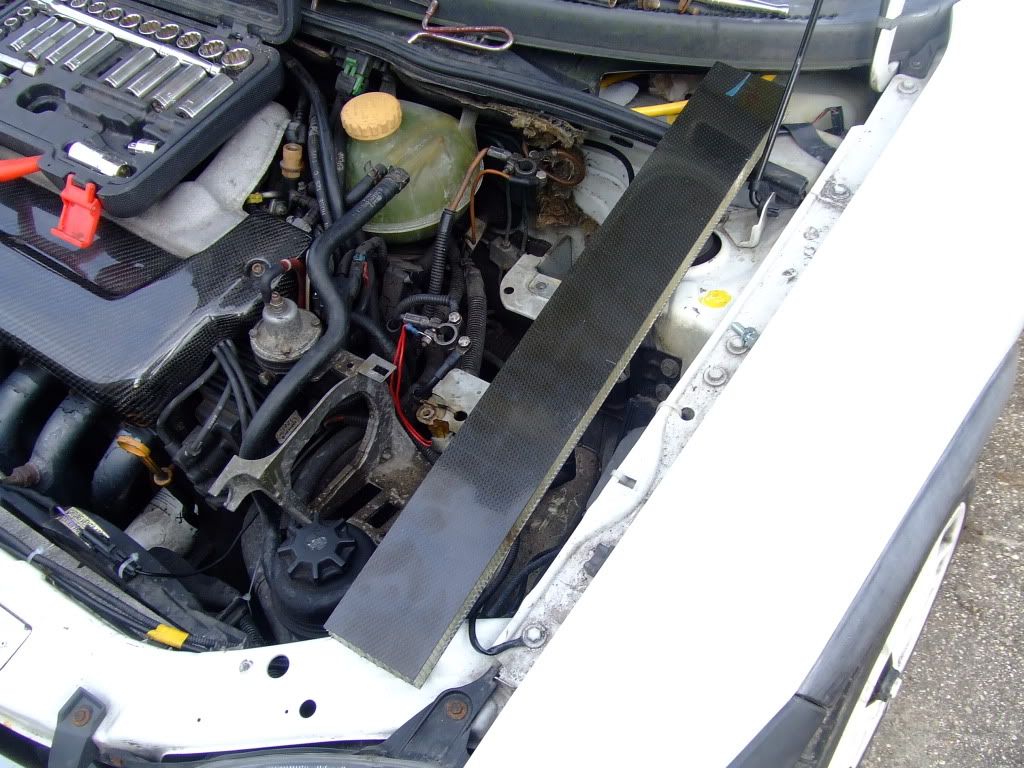
Removed the Under-bonnet Insulation/Sound deadening
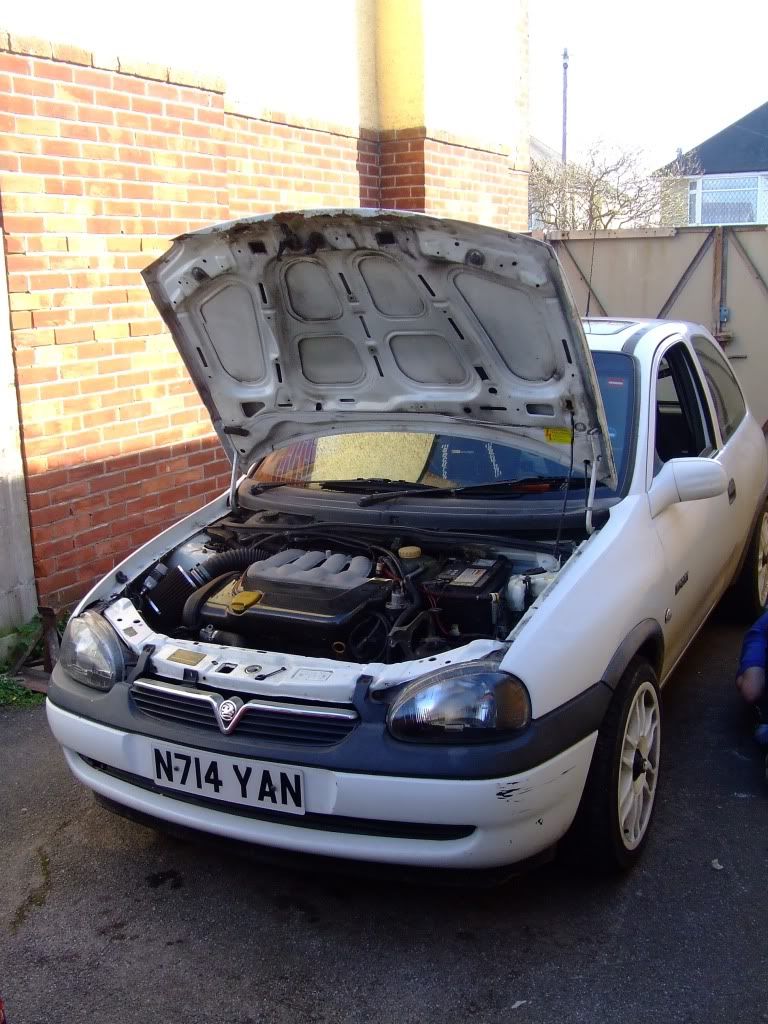
Then went for a blat before leaving for home - let Nigel (cousin) have a thrash so I could get pics of it moving, and also an idea of how it sounds from outside
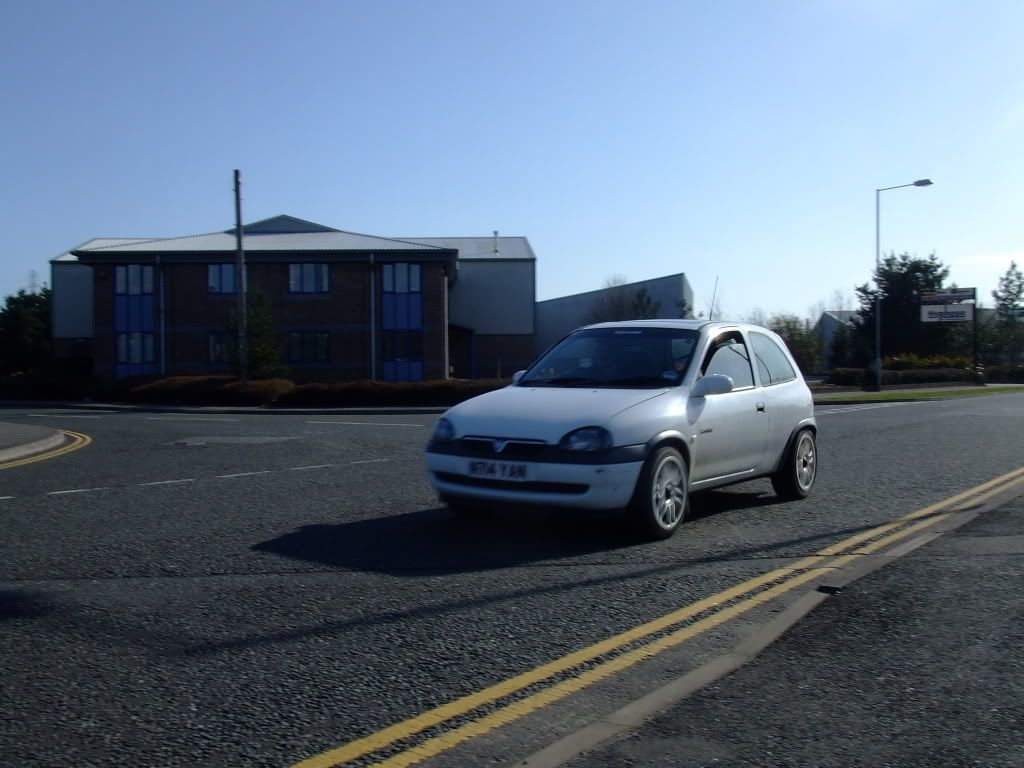
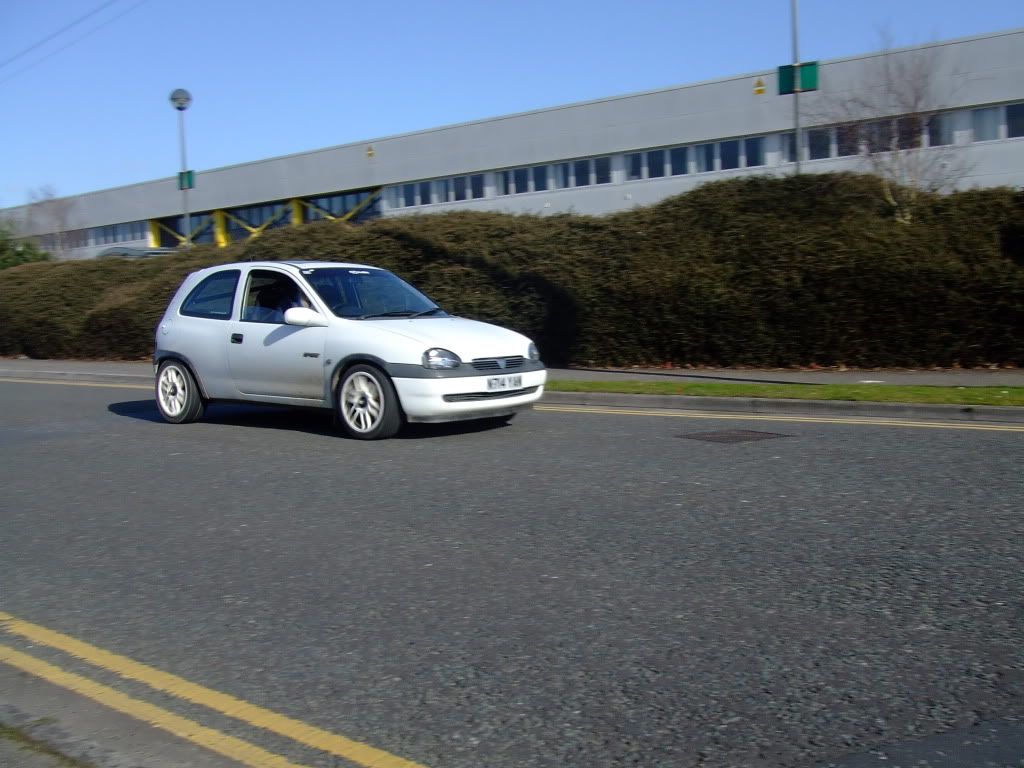
Sounds much different. A LOT Louder!
Should get through the track sound checks, but going to get it checked prior to Combe, a mate works at a car audio place and has access to a sound meter - I think it should be Ok though.
Car seems a little different to drive, seem to get a small kick during the revs, between 3-4k where the car seems to pick up a bit better and pull a bit harder than before, be interesting to get it RR'd again soon!
And thats it up to today....
